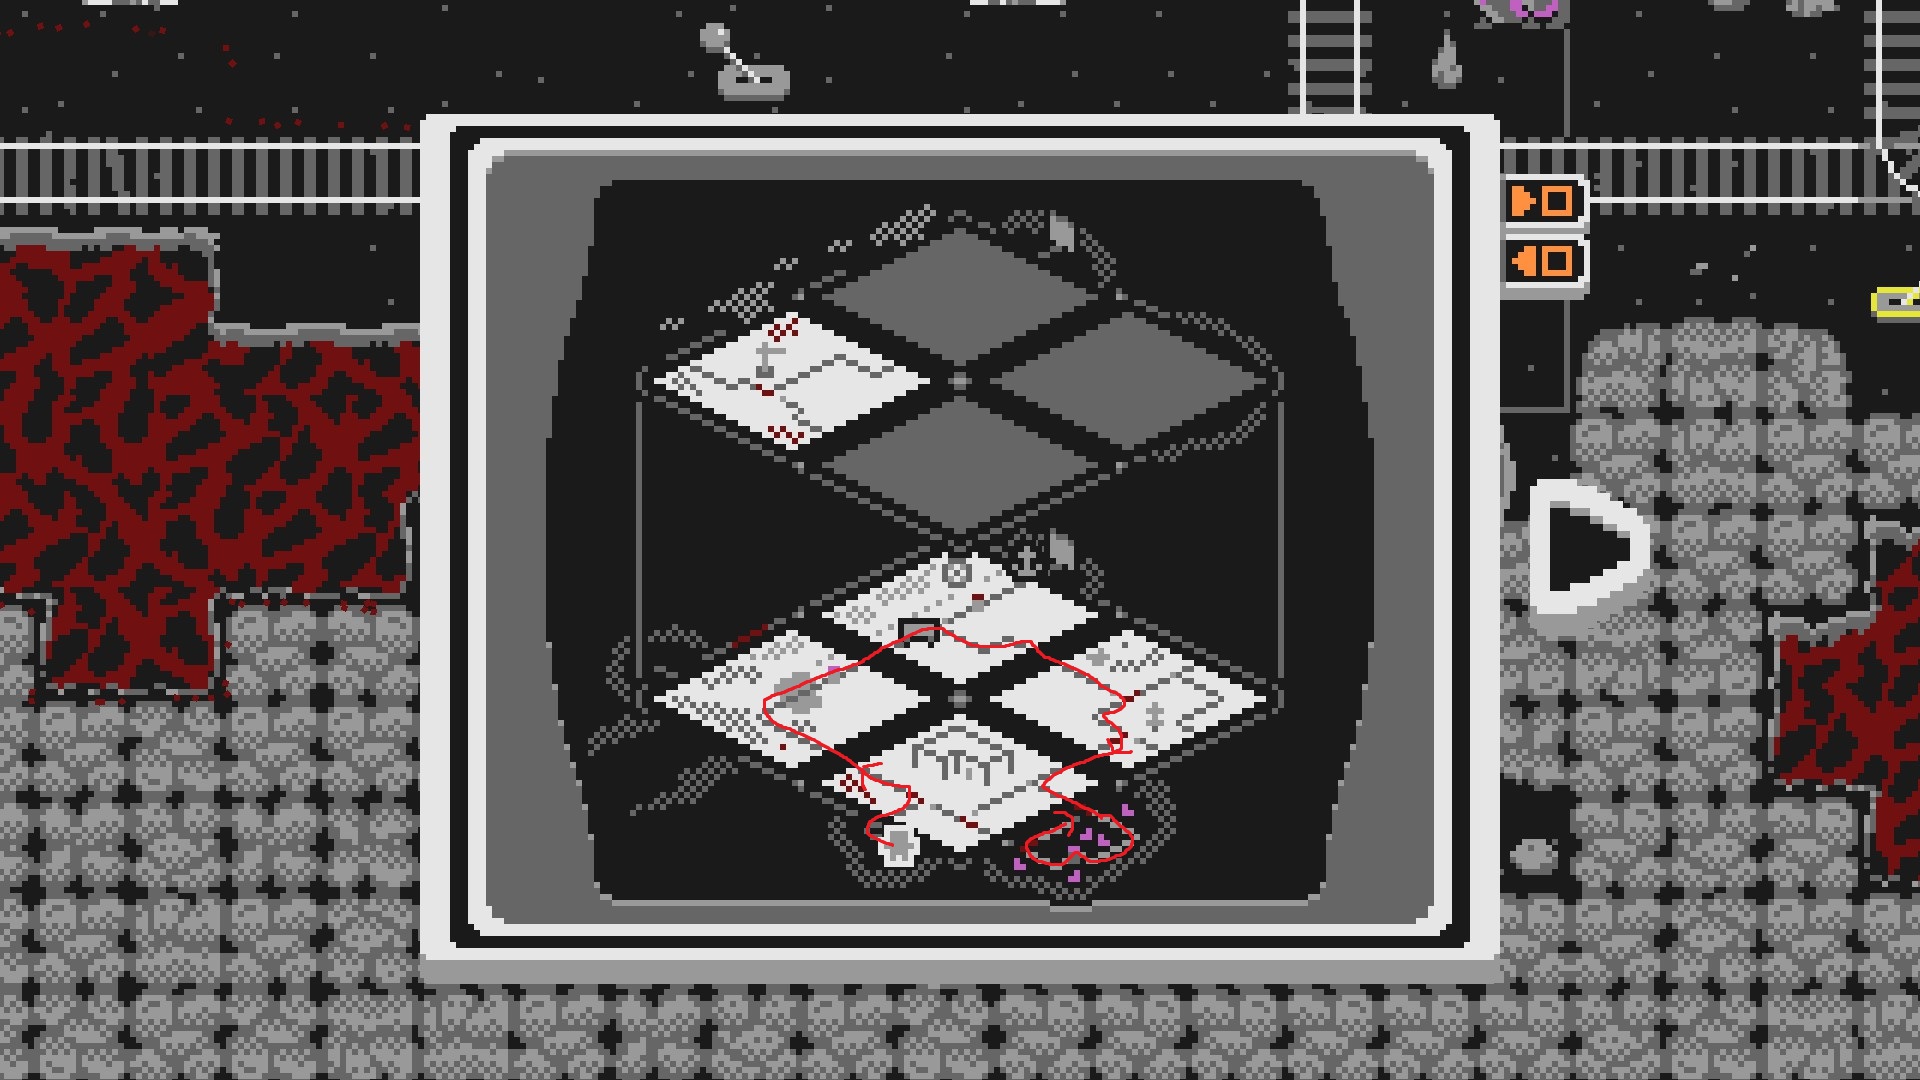
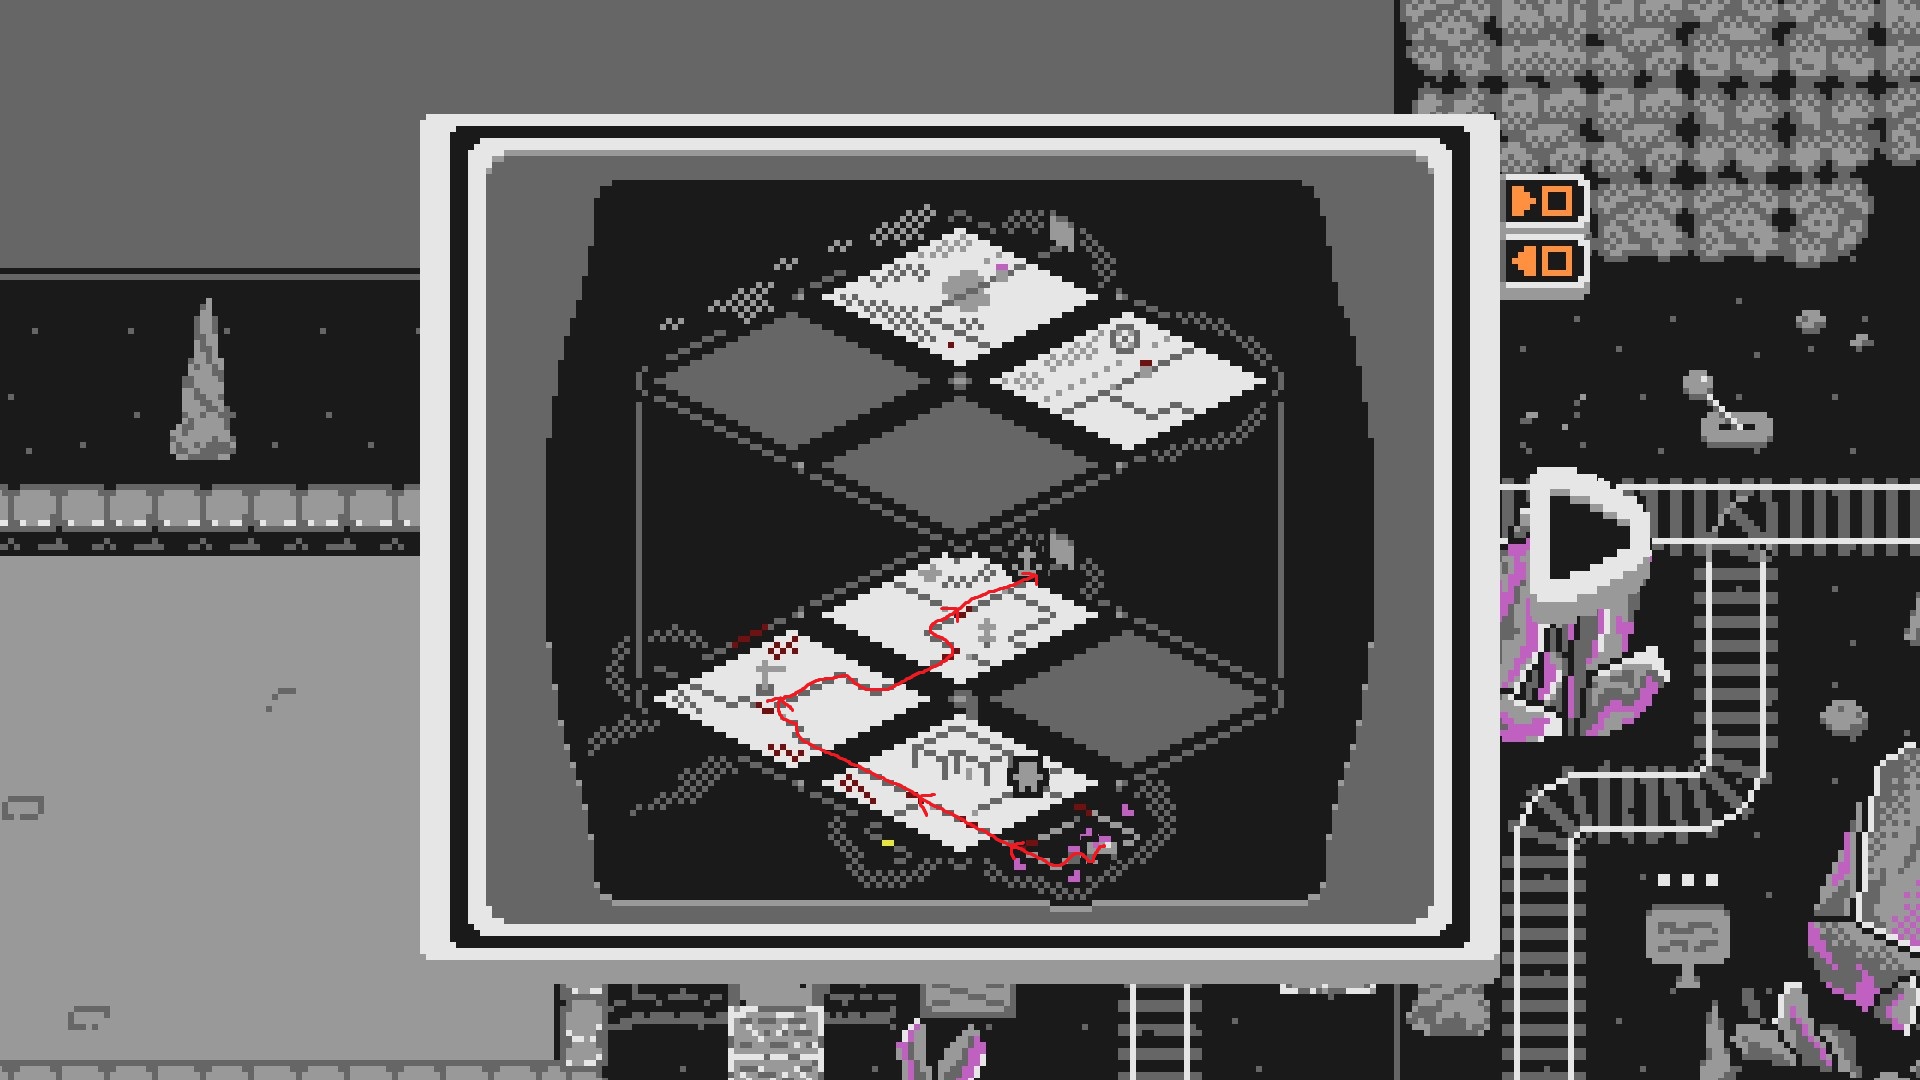
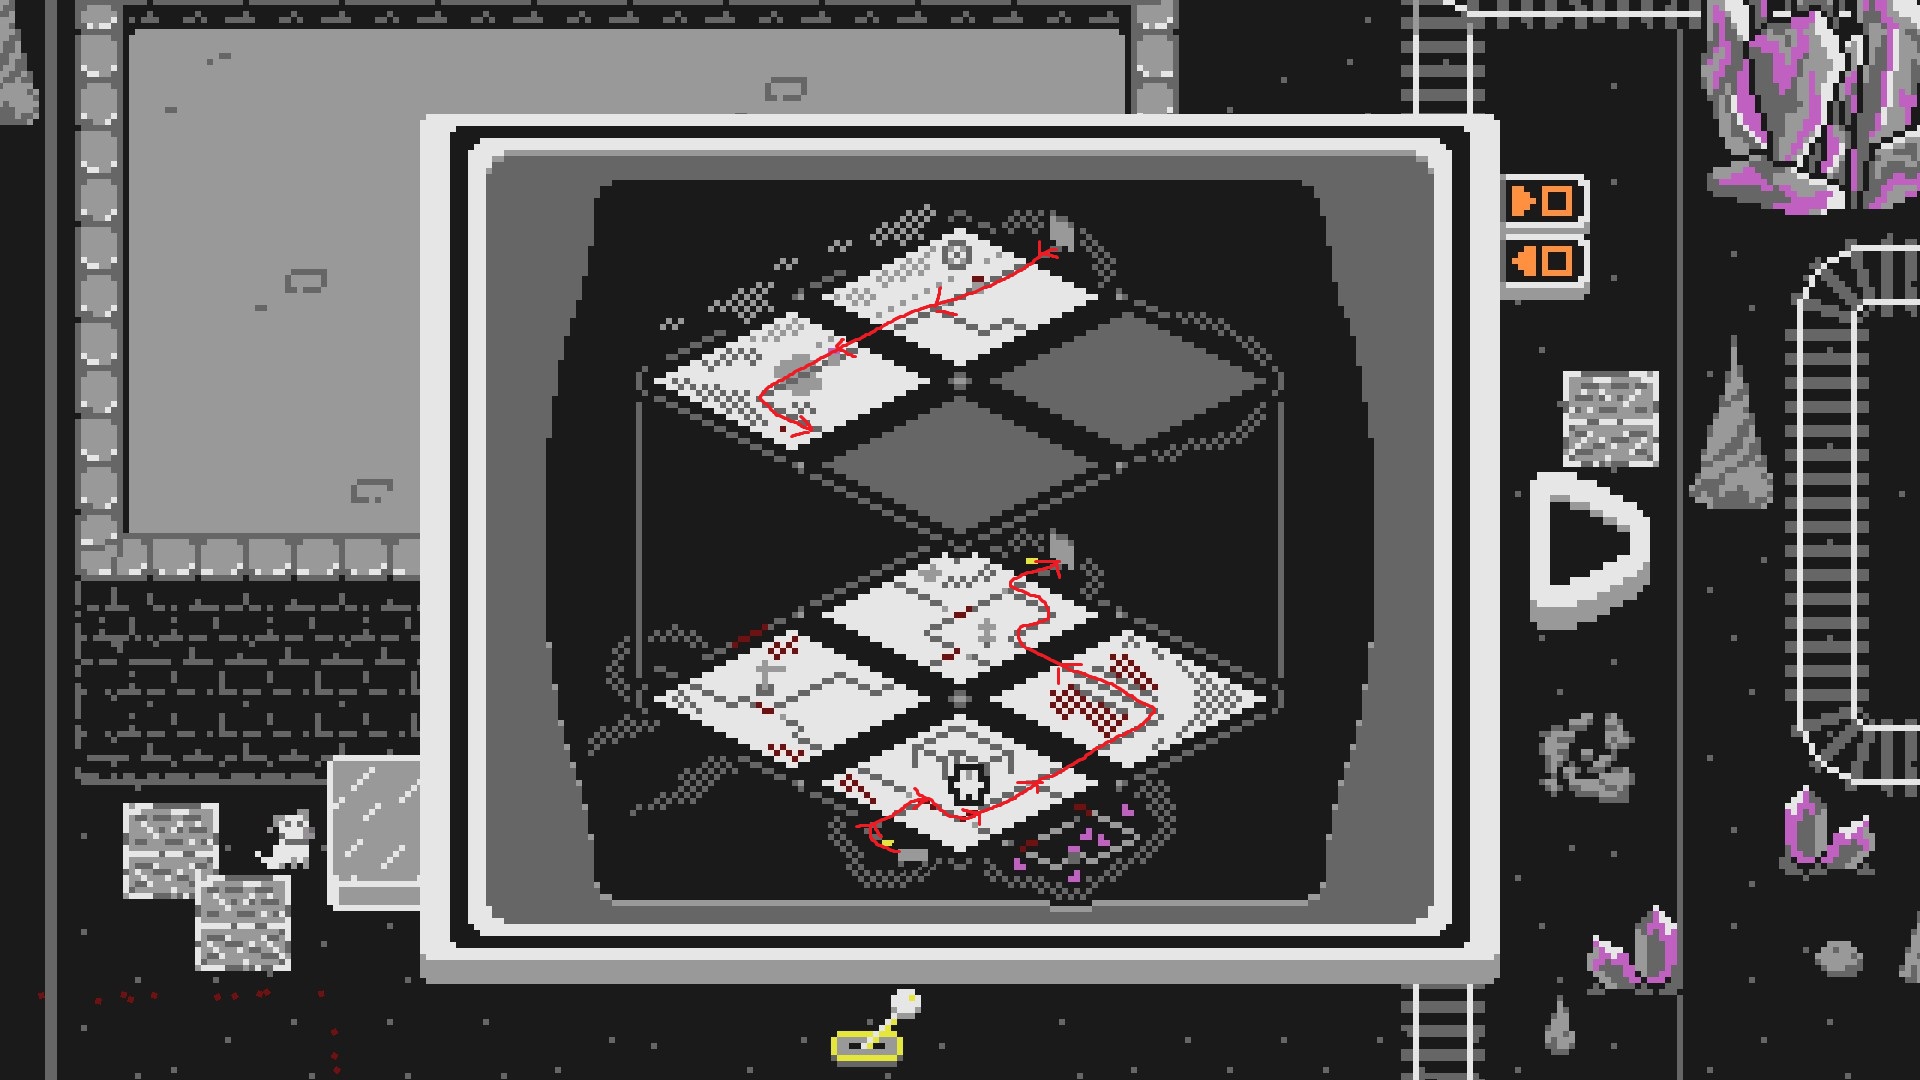
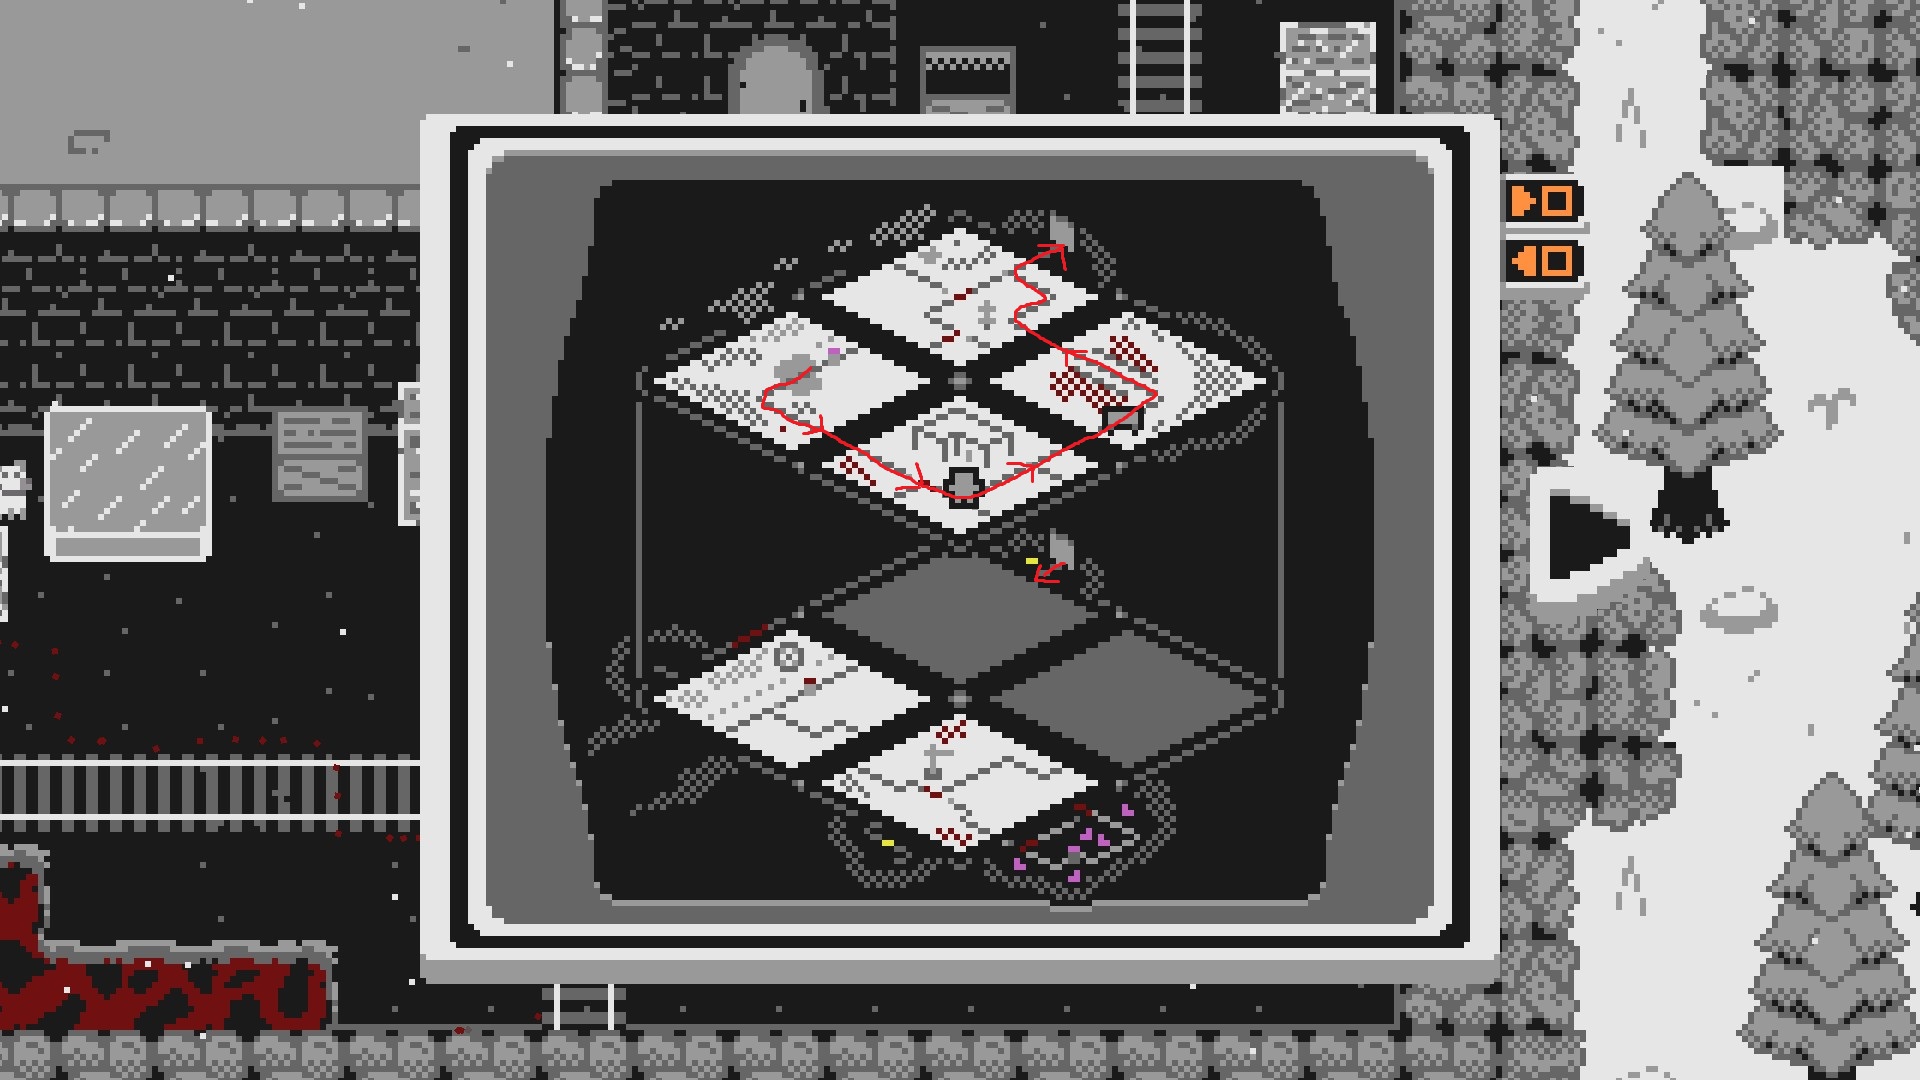
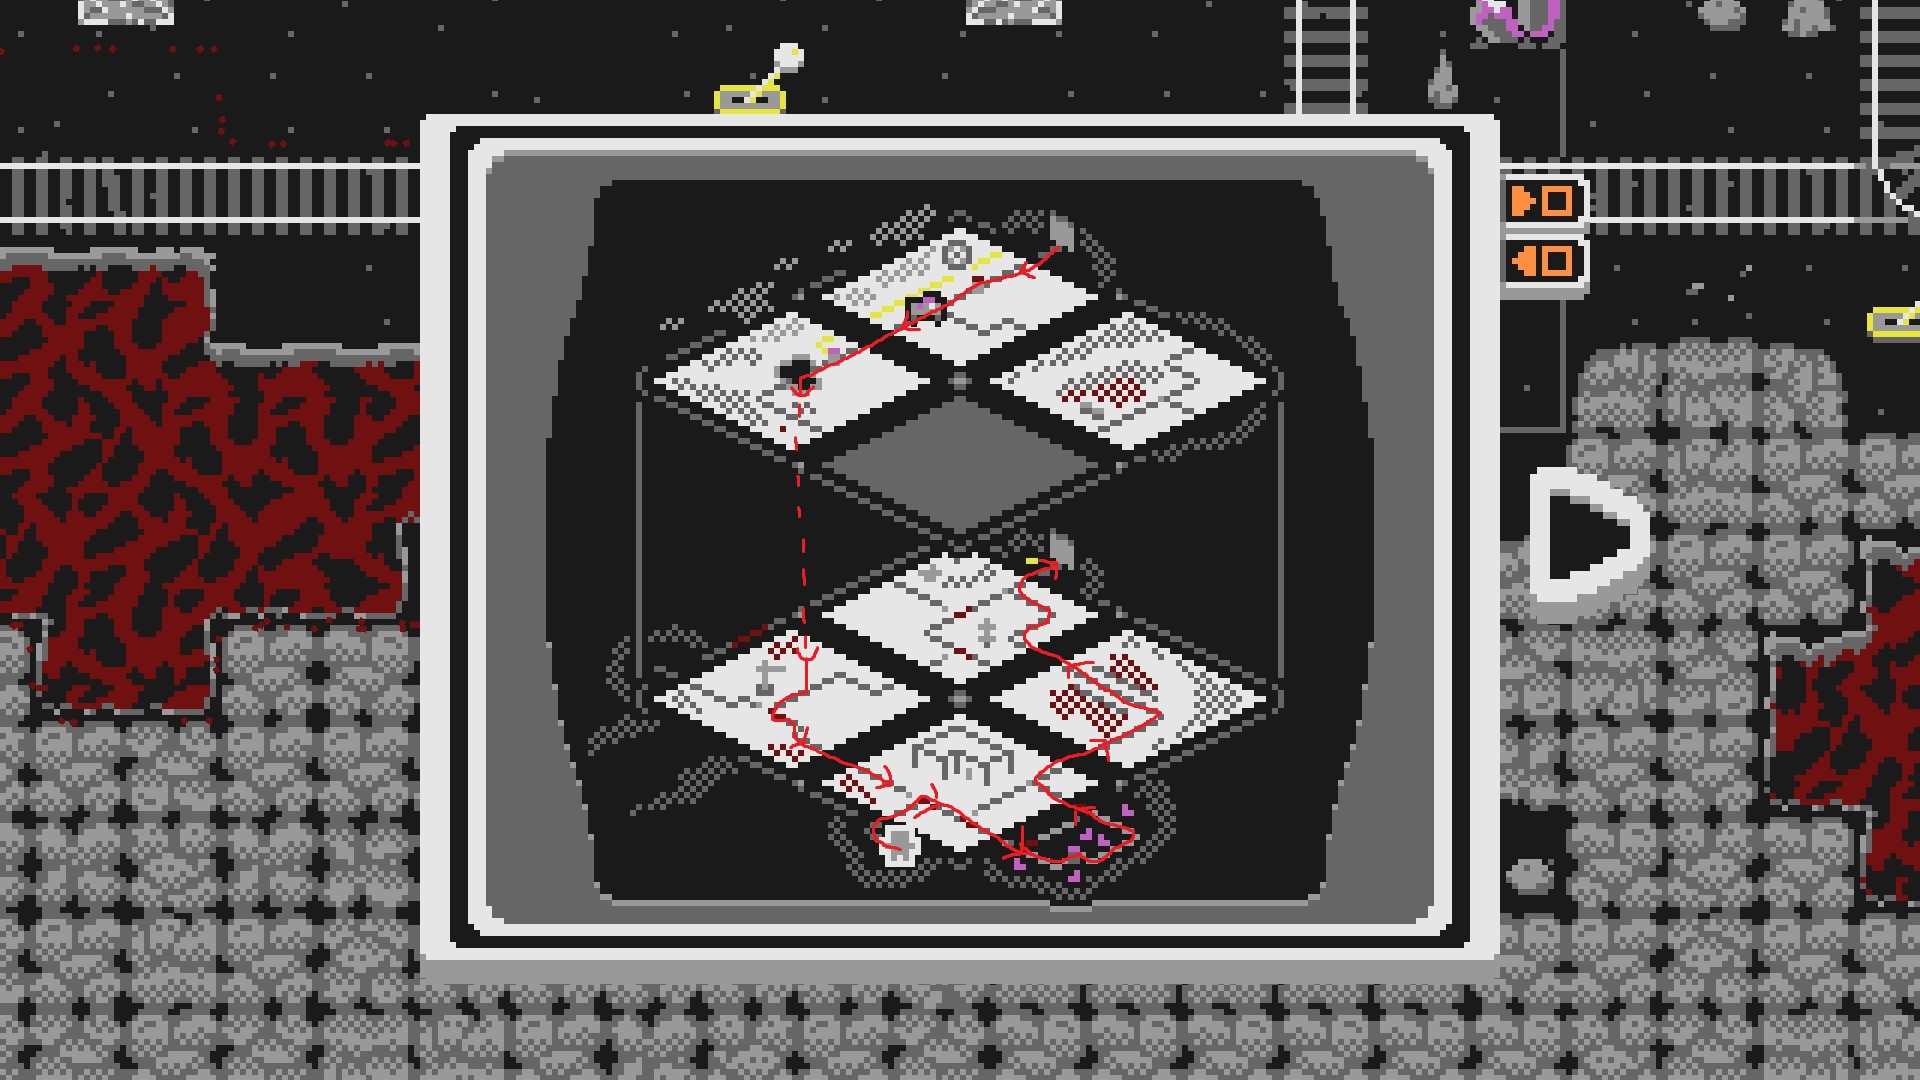
Slider Walkthrough
This is the walkthrough guide for Slider. It includes hints and solutions for each puzzle, separated by foldouts and spoilers. Let me know if you have any feedback and I can update the guide!
In order to check hints for your current area, find the foldout for your area. Then open the foldout for the slider you are trying to get. For example, Village > Slider 8 will help explain how to get the 8th slider.
General Advice
Slider is hard! Most of the people I watch often have to take breaks between playing because otherwise they get super fatigued and end up slogging through everything. If "insanity is doing the same thing over and over again and expecting different results," then a lot of my friends must be insane when they play my game. When they come back, they often have a much better time solving puzzles again.
In general, each area's hardest puzzles are the 3rd and 6th tile puzzles. (This is because you have enough tiles for interesting interactions to happen, and it is before you get too many tiles that moving the grid is annoying!) The difficulty curve of each area is intentionally not smooth because it makes puzzles and challenges a bit more memorable.
If you want a video walkthrough, someone posted a full completion of the game on YouTube as well (Thank you @dogedeaf)! You can find it with timestamps in the pinned comment here: https://youtu.be/BI7BdPrJBok
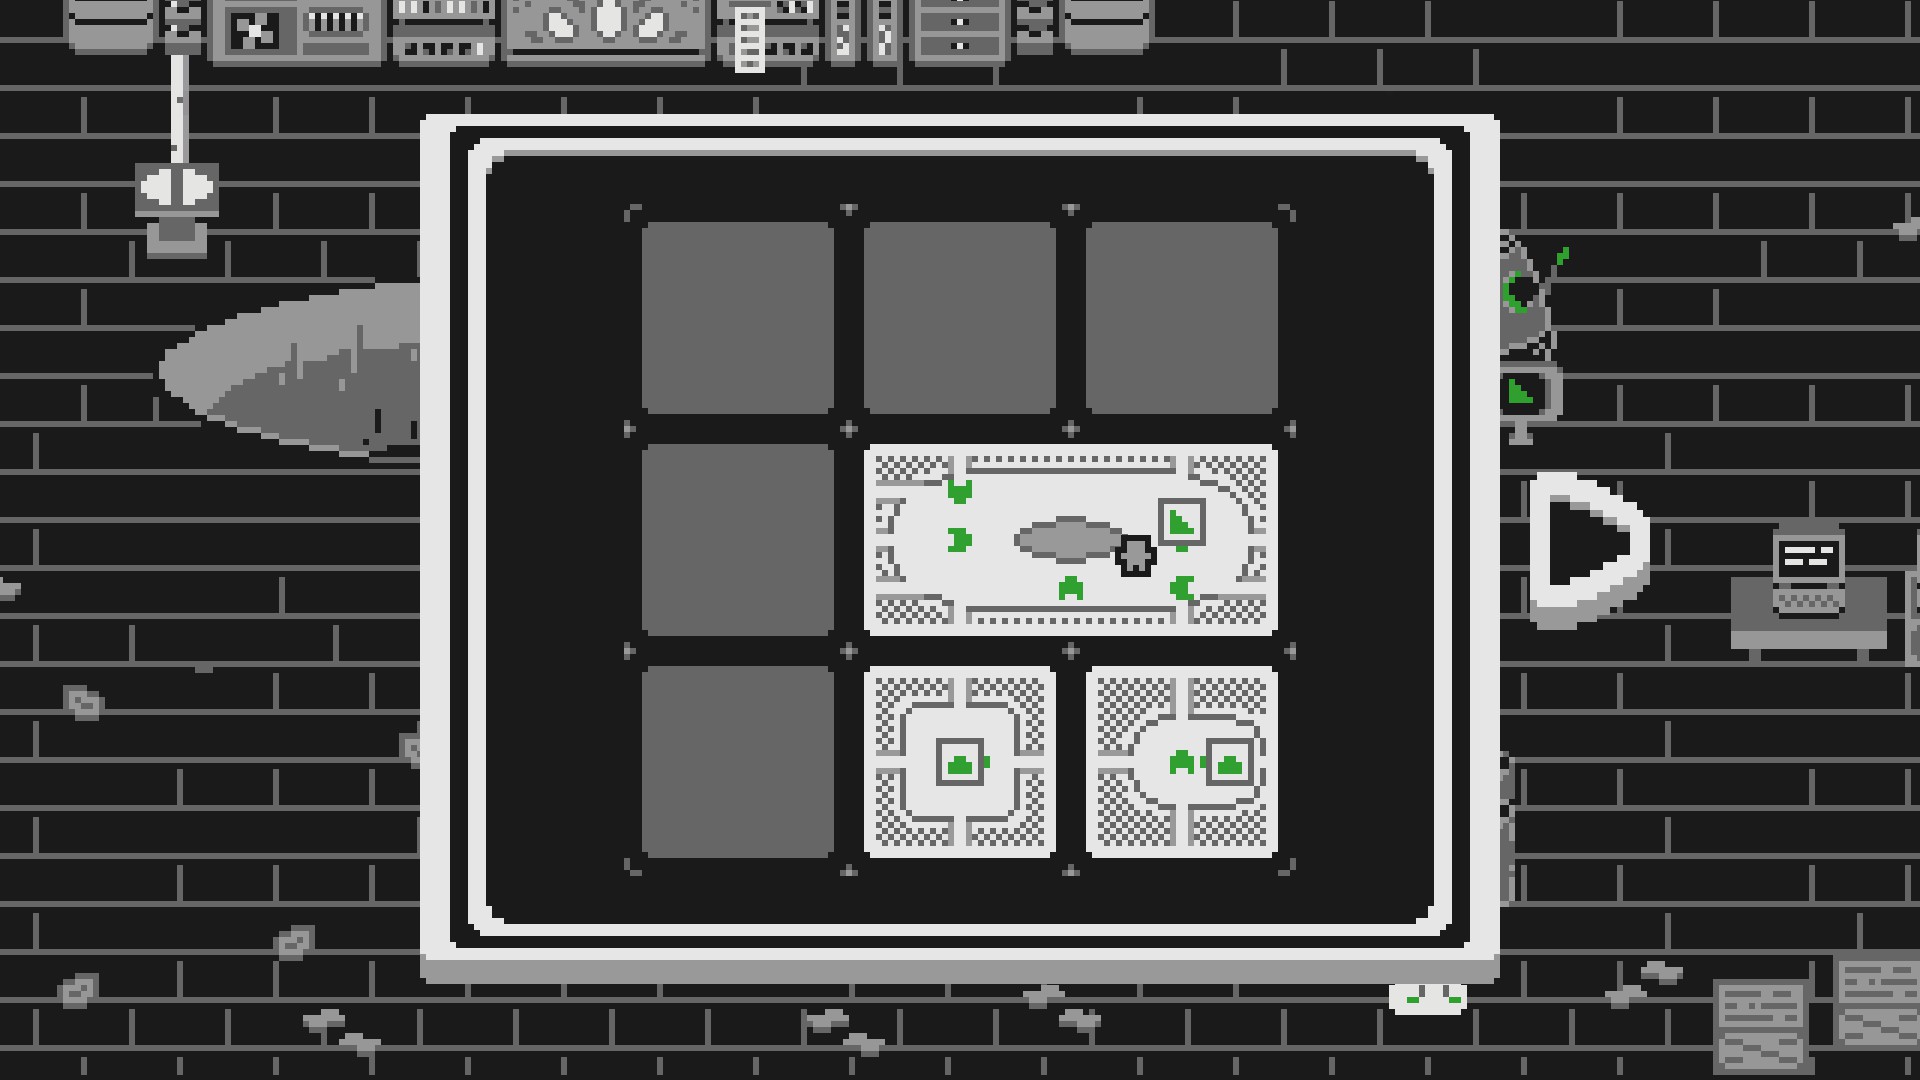
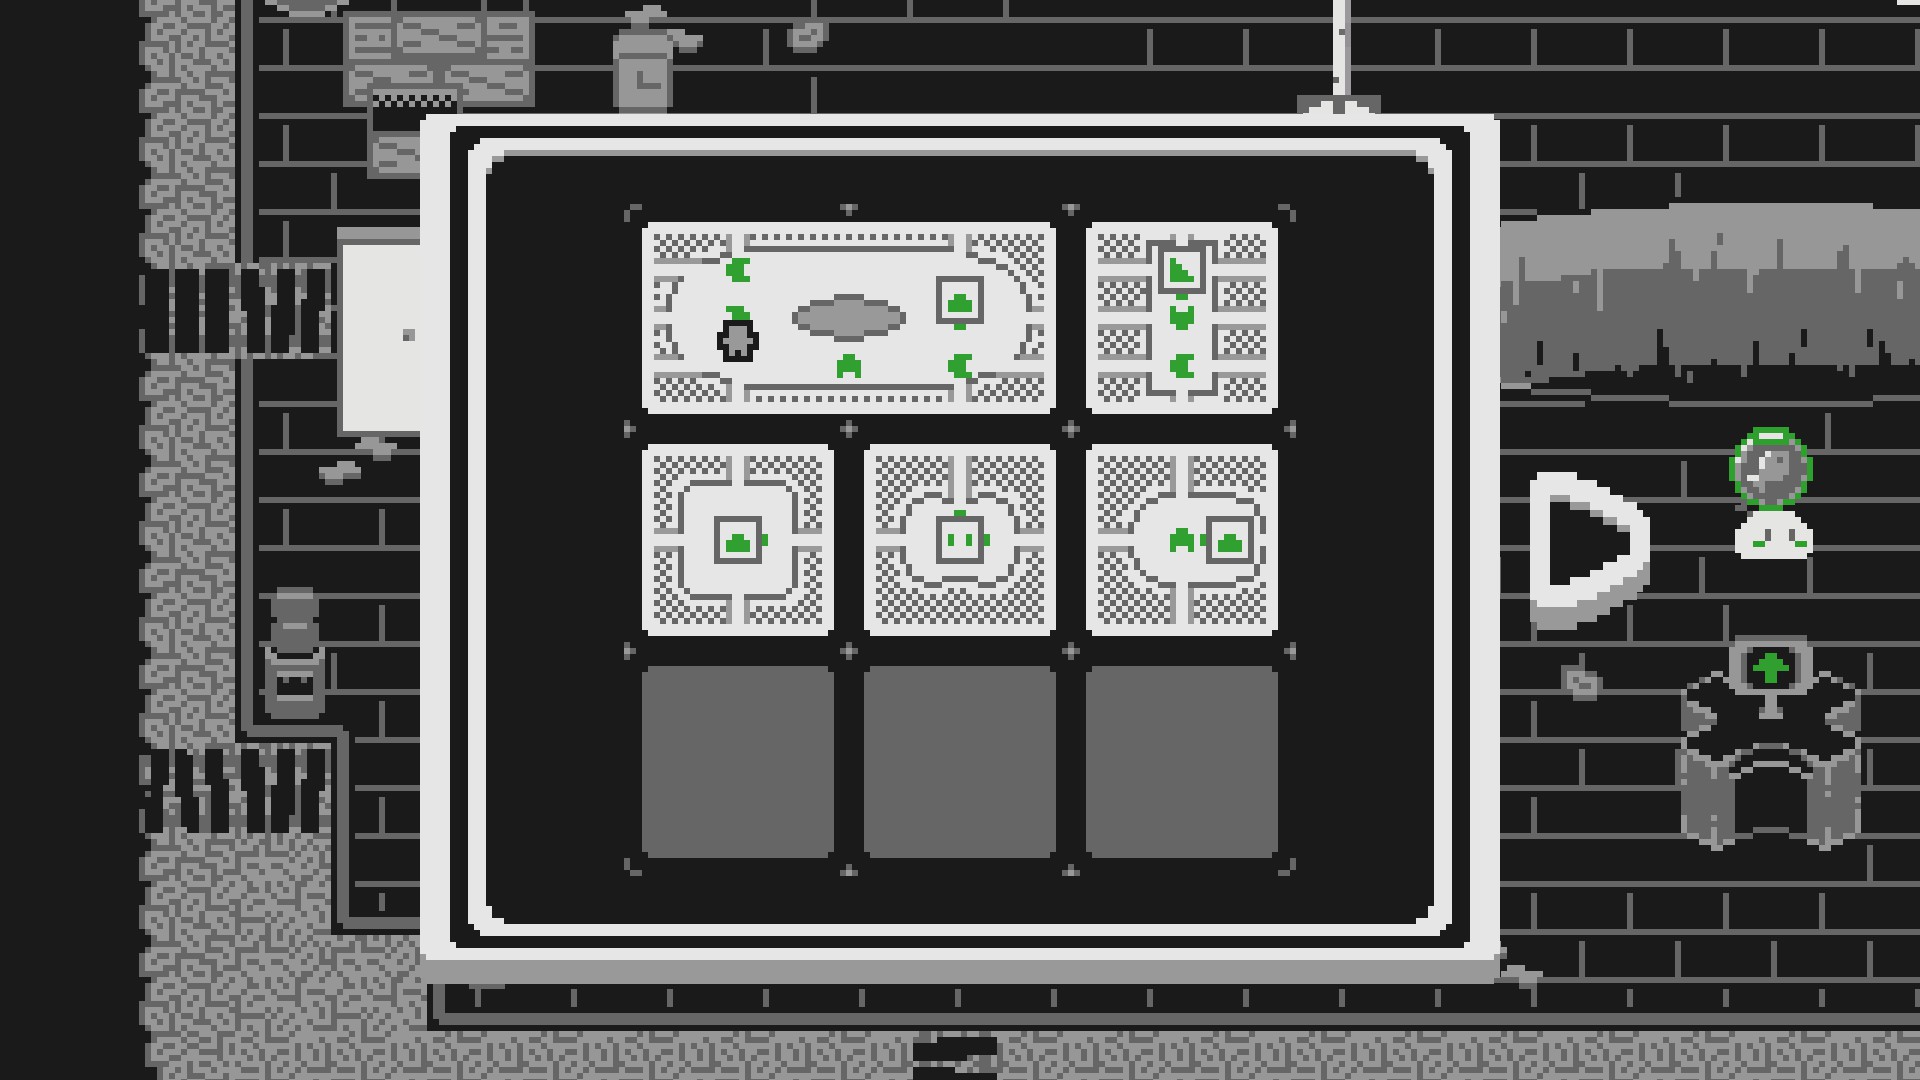
Stonybrook Village
Stonybrook Village is the first area in the game. It will help you get acquainted with how the world works and how the gameplay loop flows. Fun fact: the original version of this area was made in just 48 hours for the 2021 GMTK game jam!
Slider 2
The game starts with you in your house. You pick up The Artifact off the floor and head outside to find the world in disarray. As you explore, you should be able to eventually find the 2nd Slider.
Hint: Try moving the tile around and exploring everywhere. You can move on and off of your starting tile.
Solution: While on the starting tile, move to the top-right of the grid. Above you is a small alcove area with a cow and the 2nd Slider.
Slider 3
Soon after collecting the second tile, you can start to interact with traveling between tiles and the off-map sections on the edges. The third slider should be easy to access on the second tile.
Solution: Move the tile with the house to the left of the tile with the river section. Talk to the Archeologist, the NPC on the slider, near the ruins. If you keep talking to her, she will give you the 3rd slider.
Slider 4
With 3 sliders on the map, this is where things get a bit tricky. It seems like there is no way to get onto the 3rd slider with the 'U' shaped walls, but that's where the next piece is.
Hint 1: Think outside the box!
Hint 2: Do you remember where you picked up the second Slider collectible? Or perhaps, an inconspicuous cow on the map?
Solution: Get on the 1st slider with the house and move it to the middle right. Walk off the tile to the right and walk down to grab the coffee from the beach. Get back on the tile and move it to the top right. There, you can walk to the off-map section of the world. After that, you can move the 'U' shaped tile to the top right and get on it.
Slider 5
The 4th slider has Kevin asking you to rearrange and untangle his buoys. You can pick up and place them wherever you need.
Solution: You have to make sure none of the buoy lines are intersecting. It's probably easier if you move all of them to one side. You can pick a buoy to start with, and follow the line detangling them one by one. To get around the river, you'll have to move other Sliders next to the tile with the buoys on it
Slider 6
The newest tile has another house -- and inside is an emotional support cat. How nice! Outside, Juliette is looking for her lover somewhere else on the map.
Solution: To reunite the lovers, move the tile with the man next to the tile with the woman so that they can see each other. Those are the 1st tile (with a house, the walls are an L shape), and the most recent 5th tile (with the other house, the walls are a reversed L shape).
Slider 7
Our newest tile has a lot on it. Pierre, the fisherman, is asking for fish. There's also a waterfall and some ruins too.
Hint 1: The fisherman is asking for fish, and the fish wants to get to the waterfall in the top-left of the map. However, there aren't enough water tiles to bridge the gap. There's another way to progress forward.
Hint 2: When you assemble part of the river (the waterfall tile 6 next to the straight river tile 2), some of the ruins on the top of the tile line up.
Solution Part 1: You need to assemble the ruins in the corner of 4 different tiles. You can see them in the world as well as on the corners of the icons on the map. One is on the top-right of the waterfall tile 6, one on the top-left of the horizontal river tile 2, one on the bottom-left of your starting tile 1, and the last on the bottom-right of the 'U' shaped tile 3.
Solution Part 2: Putting all 4 corners together creates a magical arrow which points you in a direction. If you follow the arrow to the tile it is pointing to (tile 5, below the house), there's a rock on the ground that is glowing. You can interact with it to dig up the next Slider.
Slider 8
At last, the final river piece!
Hint: Now that we have all 4 river tiles, we can finish the quest the fisherman by the waterfall and fish in the ocean had.
Solution: Assemble the river from the waterfall in the top-left to the ocean in the middle right. The order is waterfall in the top left (tile 6), horizontal river top middle (tile 2), corner top right with the buoys (tile 4), and finally the other corner you just got middle right (tile 7). Then, talking to the fish will populate the river and the fisherman by the waterfall will give you Slider 8.
Slider 9
With 8 sliders on the grid, moving things around is getting really tricky!
Chad
Chad has taken a relic, but he won't let us take it from him. The dastardly man has jumped onto a rock with it too! There has to be a way to bring him down...
Solution: If you give the tile a shake, Chad will lose his footing and fall off the rock. You can pick up the relic and turn it into the Archeologist on the horizontal river tile.
8 Puzzle
After turning in the relic piece to the Archeologist, she reads them out loud and the map shuffles! It's time to put everything back in its right place and solve the eight puzzle.
Hint: When solving 8 puzzles, it's a bit tricky because you might have a lot of pieces correct but still be far from the solution. If you have a single row/column with 3 correct tiles, then you can solve the puzzle by only moving the remaining 5 tiles, without touching the 3 in the row/column
Solution: Good luck :) https://www.wikihow.com/Solve-Slide-Puzzles
Area Complete!
Congratulations, you finished Stonybrook Village! Go claim your reward from the Mayor on the center tile (there's a map in his house). After that, head north to the top right and move onto the Chloro Caves.
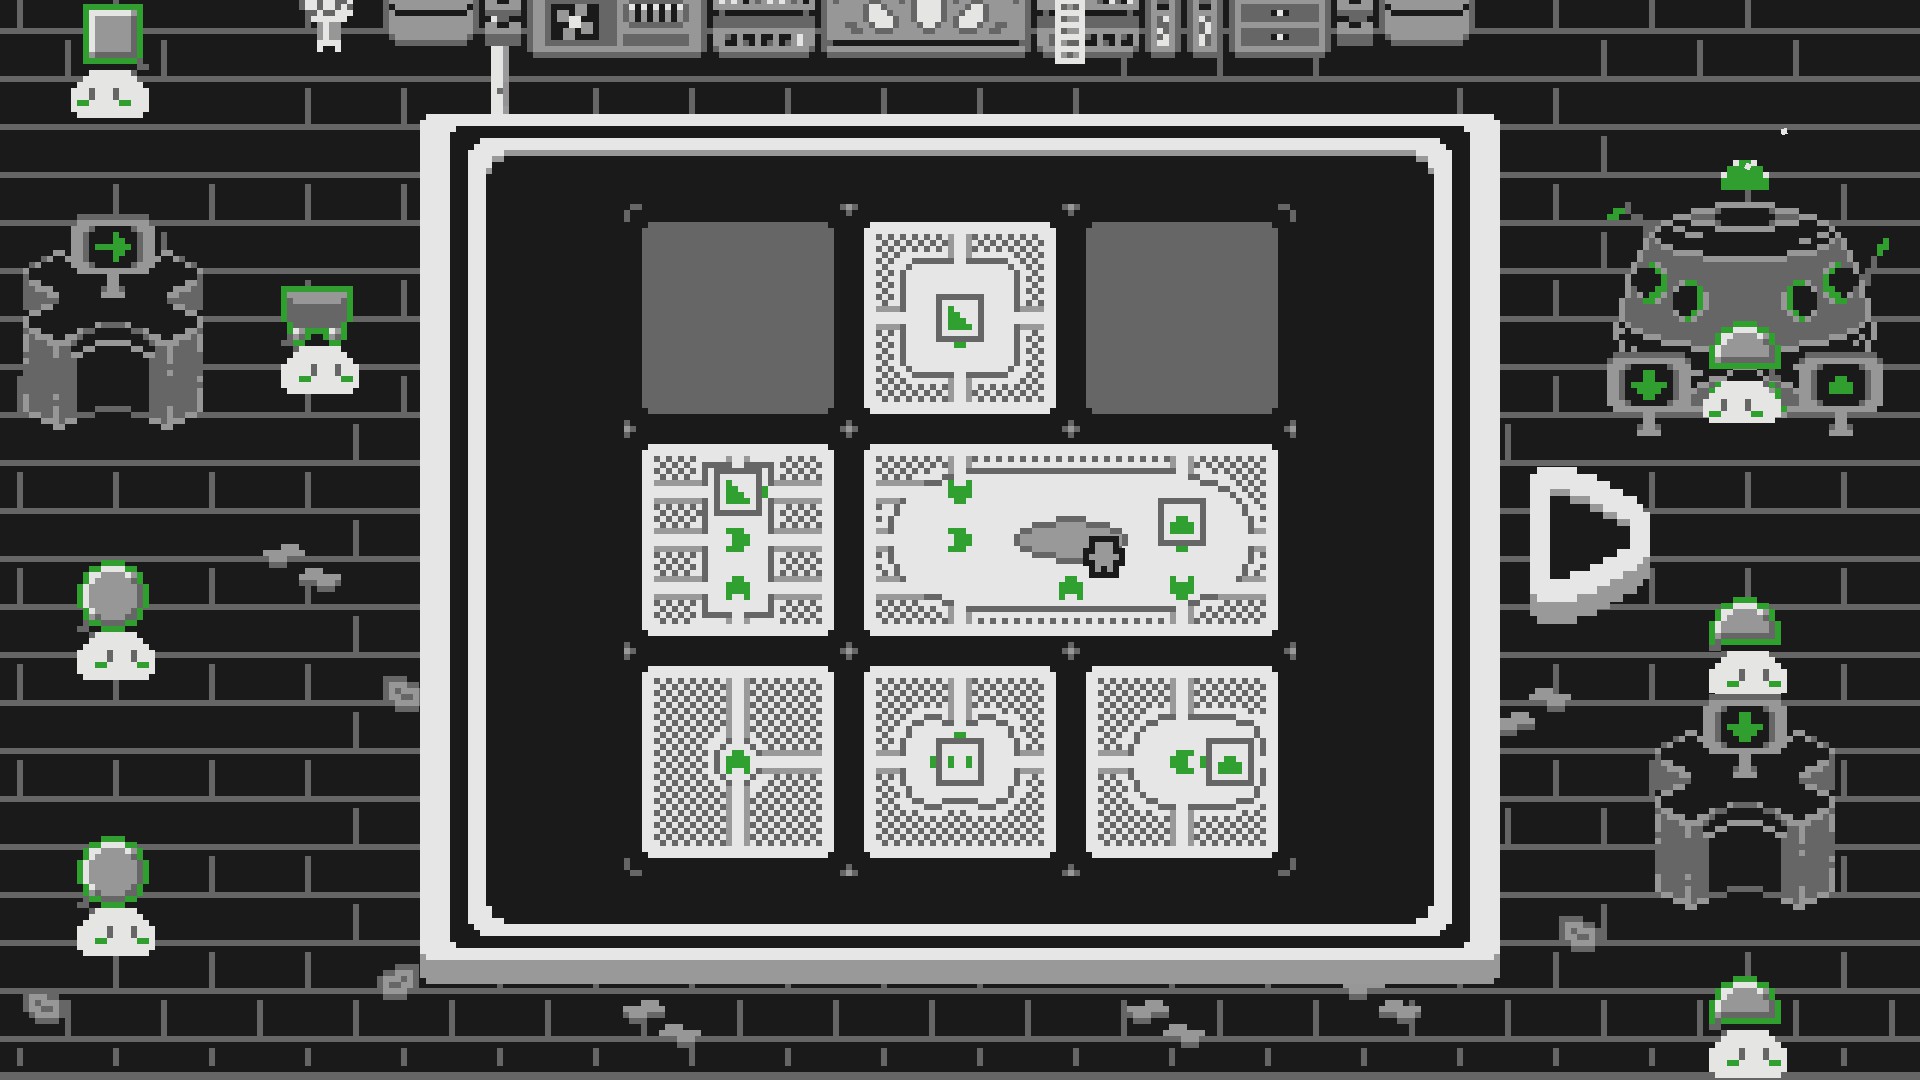
Chloro Caves
Welcome to the Chloro Caves! What does Chloro mean? Chloro stands for chlorophyll. This zone introduces fungi, a new type of obstacle that you'll have to navigate. Fungi, of course, do not possess chlorophyll.
Slider 2
You start off with the first tile, having entered the caves from the south. If you're a crafty scoundrel, you may have found your way into the caves from a hidden entrance. On this tile, you'll find your first patch of fungi, and a Slider trapped within. But what other secrets do the caves hide?
Hint: There are many areas on the edges of the map you can access with just this first tile. Explore a bit.
Solution: While on the starting tile, you can find the wrench in the bottom-left and the wire cutters in the top-left of the outside map. Return them to the worker at the top-right of the grid, who will turn on the light and give you the second Slider.
Slider 3
Some light will give you an opportunity to explore how the fungi works. Even better, Slider 3 is easily found with a little exploration.
Solution: Move the tile you just got to the top right or bottom right corner of the grid. This will place it in the range of a light. The light will cause the fungi around the Slider to recede, allowing you to pick up the third Slider.
Slider 4
My god, another light! The fungi surely stand no chance against your electrical might now�
Hint: Remember the Slider trapped in the fungi on tile 1?
Solution: Place the first tile in the top-right corner, exposing it to light from the right. Place the third tile underneath the first tile, exposing it to light from the bottom. This will remove enough fungi for you to grab Slider 4 from the first tile.
Slider 5
On this tile is the cavern station. The power's gone out, and it's so dark that you can't even see the door!
Solution: Move the tile with the light underneath slider 4. This will allow you to enter the station. Upon entering the station, talk to Chad and you will receive Slider 5.
Slider 6
Here you'll find another light, though the cable has been chewed up by rats. The Archeologist makes her triumphant return, but she seems to have lost yet another item! What a klutz!
Hint: You'll need to use the light on this tile in order to reach the flashlight, which is located on the slider with the big bridge.
Solution Part 1: Pick up the key collectible from Slider 5, and return it to the worker on the left inside the cavern station. This will allow you to switch on power, powering the light on Slider 5 if it is to the left of the cavern station. You can also see the power line on the map, which lights up yellow once powered.
Solution Part 2: Find the tile with the flashlight (the second slider you got, with the river and large bridge), and place lights above and to the left. That will allow you to access the flashlight in the fungi patch. Return it to the archeologist and pick up Slider 6.
Slider 7
This tile is dominated by a massive field of fungi, with Slider 7 deep inside. You'll have to make full use of what you've learned so far to solve the puzzle, but it is possible! Make sure you've turned on the Station light too.
Hint 1: This puzzle requires multiple moves, keep that in mind when setting up your grid.
Hint 2: There is no arrangement of tiles that will light up a full path from the outside of the fungus to the next slider.
Hint 3: You can move tiles around even while standing inside the fungus patch (assuming you're on a lit up space).
Solution: Place the power station light in the center of the grid, the other light tile in the top left, and Slider 6 in the top middle. Enter the fungi field, and stand in the row where there is no rock on the right side. Slide Slider 6 to the right, and then move the single light tile underneath Slider 6. You can then pick up Slider 7.
Slider 8
What's this? A rat has stolen Slider 8, and is now running away! Time for your best Tom and Jerry impression.
Hint: The rat is faster, but you're smarter. Take advantage of the mechanics you've used so far, and your ability to move them.
Solution: You can either corner the rat to catch it or chase it onto some removed fungi and then take away the light to regrow it. Either way, you now have Slider 8.
Slider 9
The archeologist has already made a great discovery on tile 8, but she can't quite read the runes. Light up the entire map! It doesn�t matter if the tiles are in the �correct� spots, so long as they are all lit up.
Hint 1: Try to avoid "double covering" tiles with multiple lights.
Hint 2: You'll want a light in the center of the map.
Hint 3: The other light should be in the top left or bottom left corner. Pay attention to where the walls are!
Solution: There are multiple configurations that work. If you want some direction to work towards, the "correct" tile configuration is also a valid solution (the missing tile will be in the bottom-left). If you've completed the final puzzle in Stonybrook Village, this will be a breeze. When the caves are lit, a short cutscene will play, and then you'll receive Slider 9.
Area Complete!
Congratulations, you finished the Chloro Caves! On the final tile you'll find a gaggle of pirates, along with the archeologist and Chad. Pick up the boating license, because it's your ticket to the Shifting Seas. Head back to the Stonybrook Village pier, and get sailing!
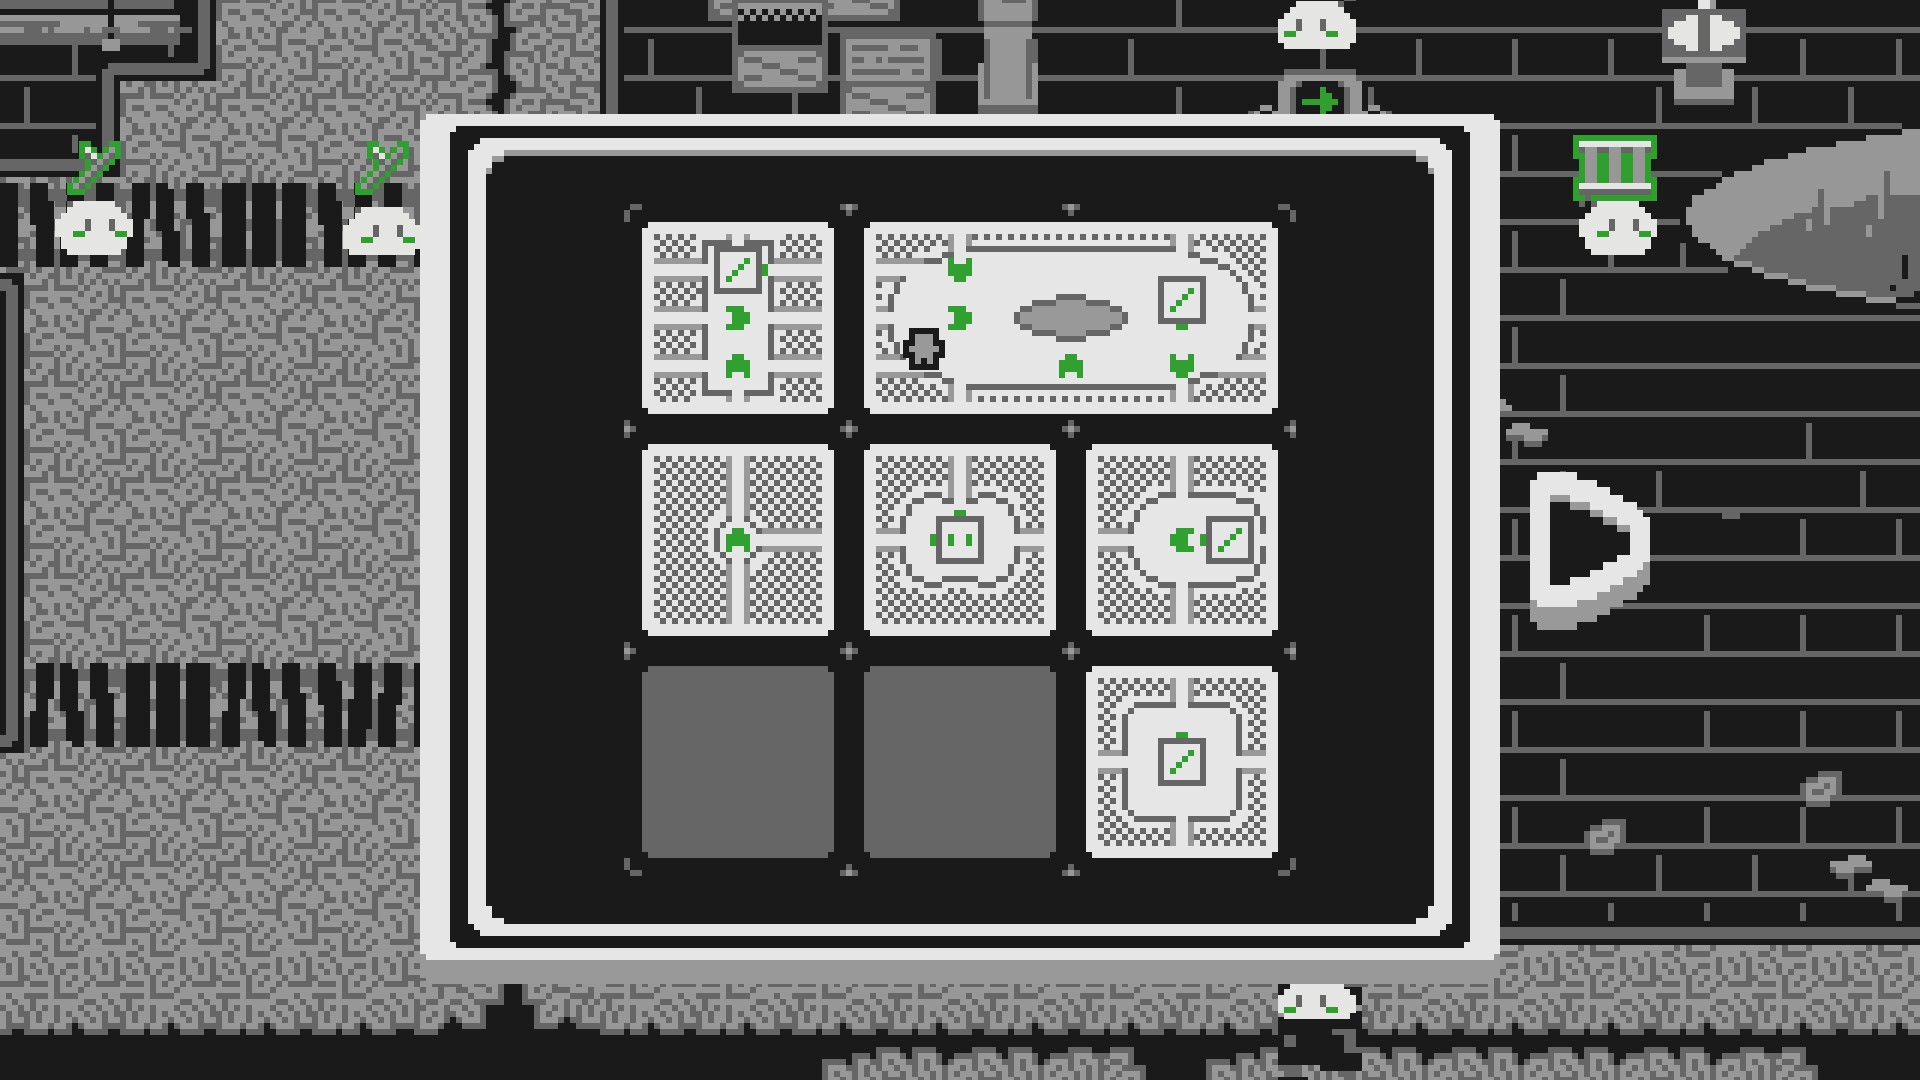
Shifting Seas
The Shifting Seas is Slider's water level. Like most water levels, there's a twist: instead of sliding tiles around, you rotate them. There's a lot to do and explore!
Slider 2
Click on the arrows in the artifact in order to rotate tiles around.
Solution: Move onto the first tile, dock the boat, and walk over to the X. If you interact with the X, you'll dig Catbeard out of the sand, who will thank you and give you Slider 2.
Slider 3
With the tavern unlocked, you can meet Bob and some tavern goers. Bob won't respect you without an anchor though :(. There's a Slider in the corner, blocked by pirates playing a game of dice. If you can defeat them, it's all yours.
Hint: You may have lost the initial roll, but you can still shake up the dice.
Solution: After rolling, if you move the tile, it will increment the number on the dice. Move the tavern tile two times so that your total adds up to 11. You'll win the game and claim Slider 3
Slider 4
Finally, the Anchor, one of the most powerful artifacts in Slider! It allows you to pin down a tile.
Solution: In order to grab the Anchor, you need to be in the water and move adjacent to it. Then you can pick it up with 'E' (or whatever key action is bound to) and store it with 'Q' (or whatever key cycle is bound to). Once you have the anchor, return to Bob.
Slider 5
With the 4th slider unlocked, you can visit it and find the wizard Fezziwig. He's trying to cast a spell that moves tiles around, but he keeps falling off his rock.
Hint: You have a tool that can pin down movement.
Solution: Place the anchor on the tile Fezziwig is on in order to stop him from moving. You can then pick up his Magical Gem reward and turn it into Bob to upgrade your Tavern Pass.
The Open Seas
After you turn in Fezziwig's reward, Bob gives you the rest of the tiles in the area. How generous! Thus, you set off on a journey to plunder the seas of all their treasure. Each item can be turned into Bob in order to upgrade your Tavern Pass. You can finish it when you turn in all of them.
You can ask Bob for hints in the game as well.
Shipwreck
The shipwreck is the easiest of all the new puzzles.
Solution: You need to assemble the two pieces of the shipwreck on the map. If you investigate the area around it, you'll find a glowing spot you can interact with to dig up a Treasure Chest.
Buoys
Kevin is back on one of the beaches and asks for your help to untangle his buoys again.
Solution: It can help if you move the three main island pieces to the top-right in their respective spots. Otherwise just keep trying to move the buoys to the correct spots.
Volcano
The Volcano puzzle requires you to place the volcano in the middle, and surround it with the other tiles with rocks.
Solution: After placing the volcano tile in the middle, you can anchor it and rotate the other tiles until 3 of the rocks line up. You can tell they line up when the blue orb appears over them. For the last one, try anchoring one of the outer tiles instead of the volcano to finish adjusting.
The Foggy Seas
The Foggy Seas require you to travel the two foggy tiles in a specific order. You can get clues from several sources around the ocean.
Hint 1: The hints are given from Bob, the short child Ike in the tavern, and behind the tavern under the coconuts.
Hint 2: The sequence is West, South, West, West, North, West.
Solution: Start with both foggy tiles next to each other horizontally. Then, move from the right tile West, and it will light up one of the notes. Then, rotate the tiles so the other one is below yours, and move South onto it. The second note will be lit up. Continue this for West, West, North, West, until all 6 notes light up and reveal a hidden island.
Romeo and Juliette
Romeo and Juliette are seeking each other again. Romeo is on the top-left of the map trying to send a note to Juliette on the bottom-right, but it keeps sinking before it reaches her.
Hint 1: The bottle moves once whenever you move any tiles, and sinks after two moves. This means you have to get it to Juliette in two moves.
Hint 2: The solution involves the Anchor.
Solution: In order to move the bottle in two moves from the top-left to bottom-right, you need to make two diagonal moves. This can be done with the Anchor. If you put an anchor on the top-center or left-center tiles, you can rotate the tiles so that one of them makes a diagonal move. You can pick up the anchor and repeat the process to deliver the bottle with 2 diagonal moves.
Wrapping Up
After collecting all of the treasures from the seas, Bob asks you to put everything back to where it should be, one last time. You only need to place the three main island pieces in the top right (The one with the tavern, and the two beaches connected to it).
Then, Bob cuts down the trees blocking the way to Canopy Town.
Canopy Town
Canopy Town features shape production and combination in a messy start up. You'll have to move Blobs so that they make and combine shapes to fulfill customers' orders.
Slider 2 & 3
Welcome to the Jungle! To start off you have to learn how to use the huts, though they won't do much with only one.
Solution: Go upstairs using the ladder and talk to the person upstairs. He asks you to "Send some sticks up", which you can do by interacting with the signs on the Spawner until it has a stick symbol and an up arrow. Then, that guy tells you to go back down and report that the job has been completed.
Slider 4
It's time to start production. Barron asks you to give him a Stick and a Circle.
Solution: You can get a stick by sending a Stick into the hole. The Blobs will jump in the hole and you can pick their item up in the area downstairs, on the blanket by the big tree. To make a Circle, send two semi-circles to the same sign and they will combine.
Slider 5
Customers are asking for a Fish and a Boat. You'll have to find a configuration to combine the components to make them.
Fish Solution:
Boat Solution:
Slider 6
It's time for a race. With Chad!
Setting up the Race
There are a number of race cones representing the horizontal track between where Chad starts and the bell on the fat tile. To set up the track, place tile 5 to the left of tile 2/3. Before you can race though, Chad asks for a flag.
Flag Solution:
Winning the Race
Now that the race is set up, you can start an attempt by talking to Chad while the race track is set up. But he's so fast! And if you break the track during the race, he stops it and calls you out for cheating.
Hint 1: Focus on the rules of the race -- what are the exact conditions for it starting or ending?
Hint 2: You will have to use the Artifact to win.
Solution: In order to beat Chad, you have to move faster than him. You can use the Artifact to move a tile, which moves faster than Chad. While you can't break the race track, you can move other tiles. To win, set up the race track and place a tile below your starting point. Start the race, hop onto the other tile, and move it all the way to the right. Then you can run up to the bell and ring it before Chad gets there.
Slider 7
Chad is defeated! You have picked up the Boots of Speed and the 6th tile with a duplicator on it. Now, we have three new orders for production as well: Crutches, a Bandage, and the Fish Bowl.
Crutches Hint: Some recipes require you to merge three shapes at once.
Fish Bowl Hint 1: The Fish Bowl requires 5 components to make.
Fish Bowl Hint 2: Try figuring out where the Duplicator tile has to be first, and build the rest of the tiles around it.
Crutches Solution:

Bandage Solution:
Fish Bowl Solution:
Slider 8
The hardest customers have arrived. It's time to make the Minecart and the Rails.
Hint 1: Think about how many components each Shape takes to make. The Minecart requires 6 total, and the Rails requires 7 total.
Hint 2: Try figuring out where the Duplicator tile has to be first, and build the rest of the tiles around it.
Minecart Solution:
Rails Solution:
Slider 9
The area is... done? You pick up the 9th tile, but everything is still jumbled. The only way to fix this is to find another artifact: The Scroll of Realigning. Our journey continues in the Desert!
The Impact Zone
The Impact Zone is the fifth level, which contains an important relic to finish Canopy Town. Instead of moving one tile at a time, all the tiles slide in one direction!
Slider 2
The river from the jungle leads up here! Try to get used to how tiles move, talk to the crocodile, and explore the edges of the map.
Hint: The camper in the top right of the map holds the next tile.
Solution: On the first tile, cross the bridge and go down to find a log. Pick up the log and bring it to the campfire in the off-map section in the top right of the grid.
Slider 3 & 4
With the Oasis now on the map, try to connect it with the river piece so Crocodile can prepare.
Hint: Use the anchor to lock down one of the tiles!
Solution: Walk onto either tile, lock it down with the anchor, then slide the other tile around so that the Oasis is on top of the river.
Slider 5 & 6
Time to bring Baboon and Jackal to the party! Go to the tile with three trees on it to see the Baboon or visit the Jackal on the tile with a giant fossil.
Baboon Hint 1: One of the trees on the right side of the Oasis has something tied at its neck. Tie the rope from Baboon's tree to it.
Baboon Hint 2: When testing the rope, keep Baboon's tile and the Oasis next to each other.
Baboon Hint 3: Use the anchor to set up the horizontal and vertical slide respectively, or have all four tiles in a 2x2 square. If you have five tiles, have the fifth tile be in the same row as the Oasis and Baboon tiles
Baboon Hint 4: Shake the Baboon off the rope by separating the Oasis and Baboon's original tile with the anchor.
Jackal Hint 1: Jackal's new bone is located on the top left of the map.
Jackal Hint 2: Give Jackal enough momentum by sliding Jackal's tile left towards the bone.
Jackal Solution: Talk to Jackal and progress his dialogue. Bring Jackal to the top left of the map. Once Jackal is on the left border of the giant fossil tile, isolate the top row of the map using the anchor, then slide right two tiles and left two tiles. Bring the Oasis to the top left after so Jackal can join the party.
Slider 7
You'll be able to find Gazelle and Chad in the Casino, but Gazelle's in the VIP only section. To get in, you'll need sunglasses! For now, Go into the casino and find Chad. Put the casino together, bring the dice over to Chad, and beat him at elevens!
Hint 1: Moving a Casino tile adds one to the dice on its respective half. Try to keep the Casino together.
Hint 2: When the Anchor is placed on a Casino tile, it sets the die on that tile to 1.
Hint 3: The easiest way to roll an 11 is to start with the two casino tiles next to each other. Set one of them to '2' and then use the anchor to set the other to a '1'. After that, move both tiles until they combine to an 11. Then, despair for Chad!
Slider 8
It's time for some mirages!
Scroll Fragment
Talk to the VIP near the cactus at the bottom right of the tile with the tail of the giant fossil. Seems like if you can open the safe nearby, he'll give you his sunglasses.
Hint 1: When you make a move, the two empty tiles will become a mirage! They show the past version of the two tiles that were originally in that spot.
Hint 2: Standing on a mirage tile and sliding will teleport you back to the present version of the tile in the same location.
Solution: Talk to the VIP on the tile with the tail of the giant fossil. Drink the cactus juice. Slide the left side of the casino to activate its mirage. Walk behind the counter on the Casino mirage tile, and slide anywhere to teleport to behind the counter on the normal casino. Grab the Scroll Fragment on the present version of the Casino Tile.
Melting the Safe
Time to crack open the safe! Seems like there's still some power left in the dinosaur fossil. Go talk to the wizard on the mirage of the head of the fossil.
Hint 1: The Scroll Fragment moves the tile in the center to the highlighted empty tile.
Hint 2: To activate the dino laser, connect the mirage head of the fossil to the tail (present or mirage) then talk to the wizard! First line up the fossil, then move both tiles or just the head tile.
Hint 3: Use the Scroll Fragment to "duplicate" the tail tile so that the dino laser can hit the safe on the tail tile.
Solution Part 1: To turn on the laser, line up the tail and head fossils on the bottom row with two empty spaces on the top row, slide up. Move onto the mirage head tile and talk to the wizard.
Solution Part 2: Next, line the fossils up again with the tail in the center and the head to the right. Make sure there's an empty space in the top-right corner. Use the scroll fragment to move it there so that the laser shoots the safe. Get your reward and to the VIP.
Party Time!
Now with the shades, talk to Gazelle in the VIP section of the casino and see if you can bring him to the surprise party.
Solution: Bring the Oasis either to the left or below the right half of the Casino.
Slider 9
Seems like the Archeologist is looking at a glowing tablet near some ruins. Reading the ruins shuffles everything! Why am I getting a sense of deja vu?
Hint: Just like the village, try solving one row completely first, and then put the remaining five tiles together. For the most part, this 8 puzzle can be completely solved using just slides, the Scroll Fragment, and the occasional anchor. Don't be afraid to temporarily move one tile out of place so you can fix the order using the Scroll Fragment! (Diagonal moves are super powerful!)
Scroll of Realigning
Head into the temple, move aside some rubble, and pick up the Scroll of Realigning. Though there's no prize without a trap�
Hint: The room with the Scroll of Realigning is at the bottom of the temple. You may need to pick up some rocks to get there.
Solution: Move the rocks by picking them up and walk to the bottom chamber in the map. After the trap activates, click the new shiny tab in the artifact that shows up in place of the Scroll button! Boom, auto solved!
Area Complete!
Now with the Scroll of Realigning, head back down to fix the Canopy Town, and then eastward towards the Rocket Factory Center!
With the Scroll of Realigning, you also unlock two extra powers. You can now Save & Load grids by clicking the => (Save) button and the <= (Load) button. This can be helpful if you want to save a puzzle setup before doing some execution with moving parts.
Rocket Factory Center
The Rocket Factory is probably Slider's hardest area. It formally introduces power, wires, conveyors, and timed gates. It is also super puzzle dense.
How do Timed Gates Work?
This section is here to spell out how timed gates work, in case you have any confusion about them! Part of the fun is figuring them out and finding the edge cases you can exploit, but it's also spelled out here in case it gets frustrating.
The goal of the timed gates is to power all of its inputs within a certain number of moves. You can see the inputs that you need to power as batteries near the gate, or also the LED indicators on the actual gate itself. If you can power all of them, then the gate will stay on forever.
The large number on the gate represents how many tile moves you have left. If the gate has a 2 on it, then you only have two tile moves to power the entire gate. Conveyors do not count towards this limit!
The moves are only counted once they completely finish though. This means that you can chain together conveyor belt moves in order to squeeze more out of the very last moves.
Slider 1
You can enter the Factory from the Jungle once you fix the minecart rail line and prove you have the Scroll of Realigning from the Desert. Once inside, you can talk to some NPCs and are introduced to the Timed Gate mechanic.
The first slider is in a closet above the starting area.
Solution: You'll have to activate the timed gate with the broken screen and power all three buttons connected to it. This will open the door and let you pick up the 1st Slider.
Slider 2
We finally have a slider on the map! We still have to get onto it and explore a bit before we find more Sliders though.
Timed Gate: To leave the starting area, you'll have to activate the timed gate below the door. This has a button for one of the power sources you can stand on, and the other is a wire which connects to our new tile. Moving the tile may reset the timed gate since it only allows two tile moves.
Hint: You can use your anchor to hold the button down while you explore areas the door unlocks for you.
Solution: Once you are in the top-right part of the map, hitting the switch will open the door (and turn on the conveyor, stranding you). You can then move the conductive bob inside back and forth to get through to the other Slider.
Slider 3
Our second slider has some giant magnets on it, which correspond to the giant magnets on the bottom-left of the map. That's where the 3rd slider is as well.
Hint: When powering the magnets, the conveyor won't move the tile.
Solution: Stand on the button and move the tile to the bottom left. Then, while on the edge of the button, place the anchor down so the button stays powered even when you leave. You can safely walk down and pick up the 3rd tile.
Slider 4
With 3 tiles, more timed gates means things get a bit more trickier. Three timed gates tricker in fact.
Easy Timed Gate Solution: Start on the tile you just got with the timed gate on the right wall. Line up the tile with the magnets to the left and place the other tile above it. Then, turn on the timed gate and stand on the button to power the wire. Walk to the other tile, stand on the button, and slide the timed gate so the remaining wire is powered.
Hard Timed Gate Hint 1: Some conveyors can be turned on and off.
Hard Timed Gate Hint 2: Conveyor moves don't count towards the timed gates.
Hard Timed Gate Hint 3: Conveyors can move anchored tiles.
Solution Part 1: Start with the top-right conveyor turned off. Set up the tiles so that the one with the door on the right is on the center-right. Then, put the first tile with the door on top in the top-right, and the tile with magnets in the top-center.
Solution Part 2: Turn on the bathroom timed gate. Place your anchor on the top-right tile and turn on the conveyor to move it down. The timed gate should have one of the lines powered without using any moves. You can then walk onto the other magnet tile. Stand on the button and move the slider onto the conveyor. This will power the second line before the move finishes.
Slider 5
With the 4th tile, you are asked to gather several parts in order to 3D print the next Slider. They can be found in 3 different locations around the factory. After you get all 3 pieces you can use the 3D printer and it will make the next slider for you.
Locations: The Base is on the same tile as the printer, the Walls are in the top-left of the Factory, and the Wires are in the bottom-right of the Factory.
Hint: One of the parts requires you to get a second item. You have the Anchor already, but you need to somehow free the Conductive Bob from the gated area in the top-right of the map so that you can use it.
Base Solution: In order to access the base, you need to power both lines to open both doors. To do this, you need two items, like the above hint mentions. You can free the Conductive Bob by using the Anchor to conduct the two pylons through the holes in the gate. The you can walk in and pick up the Conductive Bob, and then leave. After that, you can use the Anchor and the Bob to open both doors.
Walls Solution: The walls are behind the giant door in the top-left of the factory. You can power the timed gate near it using the tile with the printer.
Wires Solution: The wires are in the bottom-right of the Factory. Normally, the conveyor in the way will move tiles so you can't get there. However, if you jam three tiles in the bottom row of the grid, then the conveyor won't be able to push the tile and you can walk to the bottom of the Factory.
Slider 6
The puzzle to get the 6th tile involves powering several WiFi points around the Factory, timed-gate style.
Hint: Use the conveyors to your advantage, especially the window you have while the timed gate is flashing 0.
Solution: One solution is to set up the grid so that the server room tile is in the bottom-center and the tile with the wire pointing to the right is in the right-center. You can turn on the Timed Gate and walk to stand on the button to power it. Then, move the tile down so that you create a chain reaction of moves that will power all the WiFi points. You may need to clear some tiles out of the way or power more conveyors.
Slider 7
Now, it's time to power the Mega Crystal! But, it needs 6 inputs? And it uses a 0 gate?!
Hint 1: If you try and set it up so that all the inputs are powered at the same time, you'll quickly notice that you need some tiles to be in multiple positions at the same time. Which isn't possible!
Hint 2: Timed Gates will stay active as long as a tile is moving.
Hint 3: The Mega Crystal needs to be in the center of the map.
Solution Part 1: In order to solve the puzzle, you need to set up a loop of conveyors so that they're always moving. That way, each of the inputs can be powered as the loop moves tiles around the Mega Crystal.
Solution Part 2: First, use the conveyor override to make sure the conveyor belts aren't active. Then power all of the conveyor belts around the factory. Finally, before you re-enable them, make sure that the server room is powered so that the top two inputs can be powered during the loop, and make sure the Mega Crystal is in the center of the map. Turn on the conveyor loop and watch as everything gets powered! You'll need to stand on buttons or use the Anchor or Conductive Bob to weigh them down. Make sure to not power the magnets such that they stop the tile and the loop.
Solution Part 3: After the Crystal is powered, it will overload and cause a black out. You'll then have to use the crystal tile to power the server room and talk to Gene to run the server script. This will reset everything, but also send you to the past.
Slider 8
We've been transported to the past! Take some time to explore, this should be an easier section.
Solution: Gather some conductive bobs and explode the rock in the top-right in order to get access to Slider 8.
Slider 9
With enough conductive bobs, Fezziwig the wizard is here to help us get back to the future.
Hint 1: You have enough conductive bobs on the map to power the crystal. You can get one from Chad Sr., but he won't just hand it to you.
Hint 2: After powering the crystal for the first time, a time glitch occurs! One of the tiles has been affected and has the Time Calibrator that Fezziwig requested.
Hint 3: In order to get the Time Calibrator, you'll need to unpower the doors while standing between them somehow.
Solution: Put a conductive bob on the left of the power pylons, but such that it's on the other tile. Then, you can go between the doors and move the Slider in order to disconnect the pylons. After that, power Fezziwig's crystal again and go back to the future!
Area Complete!
Congratulations, you finished the hardest area! After fixing the Rocket Factory, the Foreman will task you with helping the Military in the Flats as well as retrieving gems from the Crystal Mines. You can do them in either order!
The Flats
The Flats region has you fighting, commanding your Robot army to defeat the apathetic Aliens. You get as many tries as you want to win this rock-paper-scissors area.
This area features a lot of randomness, so there is no explicit solution. However, we can try to give some tips.
- Try to win as often as you can (or tie if you can't). The first few waves of aliens will always go the same, but then it's up to you to maximize your potential.
- You don't have to use the supply reinforcements right away. Oftentimes it can be worth it to consider waiting until a better moment to create the troop.
- There are six waves total, with an increasing number of enemies. Additionally you will get a reinforcement roughly for every other Slider you pick up.
-The next wave will spawn once all the aliens in the current wave are defeated. Once there are 1-2 aliens left, try to rearrange the map and toops to prepare for the next wave.
-Try to keep the map as open as possible. It's easier to escape a bad situation by sliding 2-3 tiles away vs moving a flag. Place sliders with walls near the edge of the map.
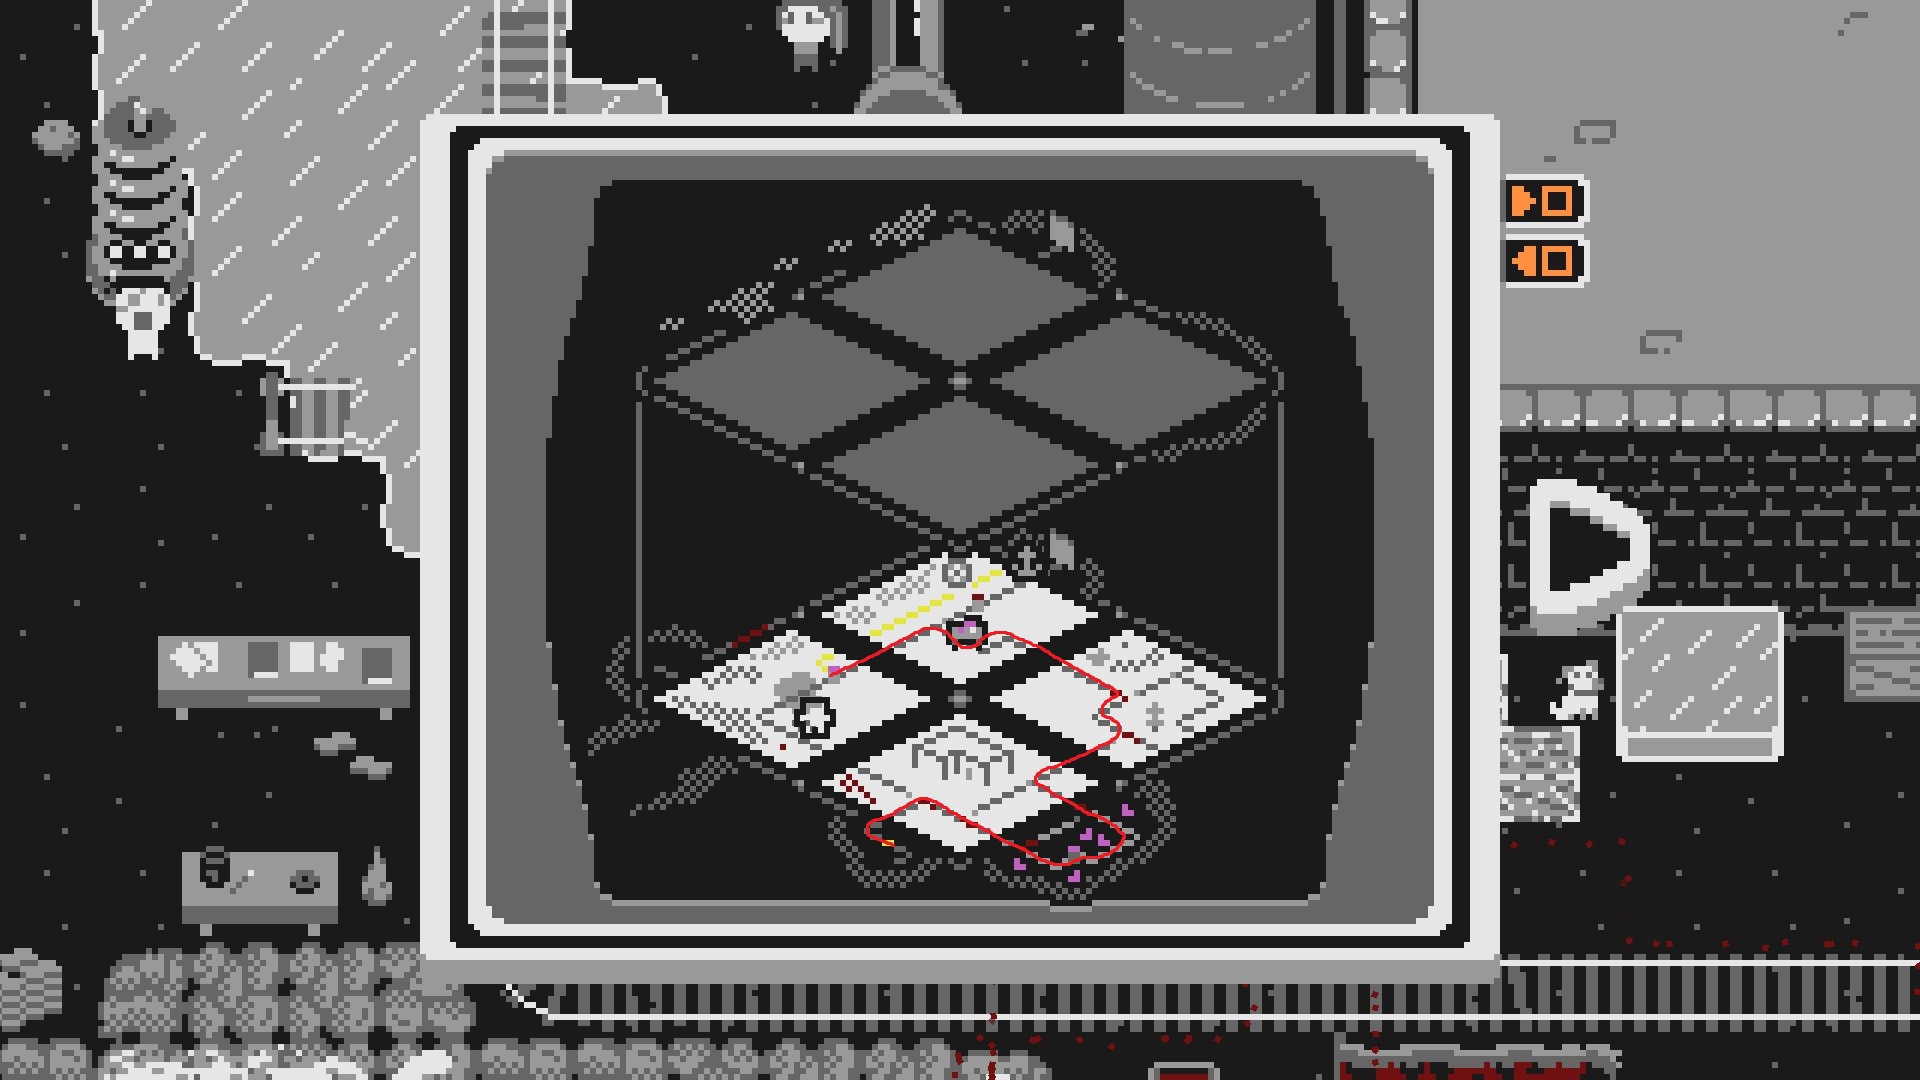
The Crystal Mines
The Crystal Mines is the eighth area and one of the most challenging in the game. This area contains a 3D grid, ice, lava, crystals, and a massive network of minecart tracks to navigate.
Accessing the Crystal Mines
Accessing the Crystal Mines is less straightforward than other areas. Per the directions of the Factory's Foreman, you can follow the rail line from the factory to the Chloro Caves. Unfortunately, that entrance is blocked, and you'll have to find another way in.
Hint: That massive door in the caves has a split power line attached to it.
Solution: Use the anchor to bridge the gap in the wire on the top-left tile in the caves. This will open the large door, granting access to the Crystal Mines.
Slider 2
Poor Bobbyjim is frozen in ice! You must learn how ice and lava work in order to free him
Hint: Ice melts when within range of lava and freezes when on the top layer with no lava in range.
Solution: Move the slider so you can walk on it. Move it to the top layer to freeze the small ice patch and walk to Bobbyjim. Move the tile back to the bottom left corner of the lower layer in order to melt the ice around Bobbyjim.
Slider 3
A basement resides on slider 2, but the door is locked and blocked by a frozen crate. You'll need to find a way to break the crate and obtain the key.
Crate Hint: What large, heavy, metal object do you have that's perfect for smashing stuff?
Key Hint 1: Bobbyjim needs a bucket of lava. The craftsman on the lower layer can provide
Key Hint 2: The lava pool on the newly obtained slider can be used to fill the bucket. But how?
Crate Solution: Use the anchor to smash the crate in front of the door.
Key Solution Part 1: Visit Burt the Craftsman on the bottom left of the bottom layer. He will generously give you a bucket for free. Bring it back to Jimbobby.
Solution Part 2: Set up the soldier with the lava bucket on the bottom row of the bottom layer. Place the slider with the basement on it in the top row of the top layer. The lava will drip over the edge and fill the bucket. Talk to Bobbyjim to get the key. Once inside the basement, smash a few crates to get the frozen Slider. You can break it with the Anchor or pick it up and bring it near a lava source to melt it.
Slider 4
This massive water wheel generates power for a variety of contraptions. Unfortunately, the gears have frozen over!
Hint 1: The river that runs along the left side of the top layer can provide flowing water.
Hint 2: How have you gotten rid of ice before? You'll need a different method for each gear.
Hint 3: If you anchor a tile on the top layer, it won't fall if there is another tile underneath.
Solution: On the top layer, put the water wheel tile in the bottom left and the basement slider above it. The lava will melt the top gear. Place the remaining slider under the waterwheel on the bottom layer, then use the anchor to break the ice on the bottom gear.
Slider 5
The next slider contains a crystal processing machine and a giant ice patch with a minecart rail across it.
Obtaining the Minecart
After so long of being taunted by minecart tracks, you can finally obtain a minecart by clearing out the cave-in on the bottom right of the map.
Hint: You'll need a lava source in order to set off the explosives.
Solution: Move the slider you just got to the bottom right corner on the lower level. Talk to the NPC near the powered rails to activate the explosives, blowing up the wall and giving you the minecart
Minecart Drop
The giant ice patch on this slider can act as a shortcut for the minecart! Follow the instructions of Muncher to see how it works.
Solution: Place the ice patch tile directly above the tile with the trees. Drop the minecart onto the rails on the ice patch. Use the Anchor to break the ice and watch the minecart drop below.
Crystals
Sara, a researcher from the MRI, is investigating the crystal extractor. To help with her research, you'll need to power the extractor and use the minecart to fill it with crystals. You can start the minecart by placing it on the yellow powered rails. Watch out; if you move a tile while the minecart is full of crystals, they will be destroyed!
Power Hint 1: You can try using the waterwheel, but you won't find a valid setup. Is there another power source available?
Power Hint 2: There's a generator powering the elevator
Solution: Use the Anchor to connect the elevator generator to the exposed wire of the water wheel power line, which will connect to the extractor.
Crystal Hint: You can form a single, continuous track from the powered rails to the crystal depositor to the crystal extractor. Make sure to pay attention to which direction the junctions are pointing.
Crystal Solution: Place the crystal extractor slider in the bottom left of the lower layer. To the right put the basement slider, and above it place the waterwheel slider. Place the remaining slider in the last spot on the bottom layer. Make sure the switches on the basement tile are both on and the upper switch of the crystal loop is off. Send the minecart around the track and watch it pick up and deposit a crystal. The tile setup looks like this:
Slider 6
It's time to run the experiment. Unfortunately, the power overwhelms the generator, causing both it and the crystal extractor to be damaged. Looks like we have to fix them. You'll need a crystal to fix the generator.
Hint 1: The minecart will always exit the Crystal Loop on the opposite side from where it entered.
Hint 2: You can use the Crystal Loop lever opposite from the entrance used by the minecart to trap the minecart the loop.
Hint 3: You can move tiles while the minecart is in the Crystal Loop.
Solution: Set up the 4 tiles on the bottom as you did previously. Make sure the left lever on the basement tile is off, the bottom right lever on the forest tile is off, and the middle left lever on the forest tile is on.
This time, send the minecart around to the left. Make sure the bottom switch on the forest tile is off. Once the minecart is in the loop, move the tiles to form this configuration:
Then, flip the bottom switch to release the minecart from the loop. Make sure the top lever on the forest tile is on. The minecart will deliver a crystal to the generator, fixing it and powering the elevator again.
Slider 7
We finally meet the lead engineer of the Crystal Mines, and she has the pipe to repair the water wheel heater! She seems rather distressed about her elevator, though. In order to get to the pipe, we will have to help her out.
Repairing the Heater
Not being impressed with the ice patch, the engineer wants to see the elevator go down, not just up! You'll need to find a way to send the minecart down the elevator.
Hint 1: If you move the tile the minecart is on it'll stop. However, you can move other tiles.
Hint 2: The tile the minecart exits the elevator from is not the tile it uses to go back in.
Solution: First, turn on the left lever and turn off the right lever on the basement tile. Setup the tiles like this:
As the minecart makes its way to the top layer, slide tiles to create this configuration. You'll have to flip the left lever on the basement tile to the off position. Make sure not to move the tile the minecart is on!
Once the minecart goes down the elevator, talk to the engineer and she will move out of the way. Grab the pipe and use it to fix the heater.
Filling the Heater
Now it's time to fill that heater with 2 buckets of lava! You'll need to somehow get the lava into your minecart though, and you need to keep the minecart moving.
Hint 1: Take a close look at the lava buckets you've seen previously. Does that shape look familiar?
Hint 2: You have to use the ice patch shortcut or send the minecart down the elevator
Hint 3: You can't make a full loop yet: one of the tiles will have to move a little.
Solution Part 1: You can pass the minecart under a lavafall to fill it with lava.
Solution Part 2: Make sure the left lever of the basement tile is on, the right lever on the basement tile is off, and the bottom right lever of the forest tile is. Setup the tiles as shown here:
The minecart will fill with lava when passing under the lavafall. After dropping the minecart at the station, run to the giant ice patch. Once the minecart enters the elevator, slide the forest tile down, under the ice patch.
When the minecart is near or on the ice, drop the anchor to break the ice. Once the minecart exits the forest tile, slide it back up to the elevator. The minecart will fill with lava once more. Once it reaches the heater, it will begin to fill with lava. When the heater is full, it will activate, unfreezing the waterwheel.
Repairing the Gem Extractor
With the waterwheel running, now we just need to get a new extractor tank. Burt offers to make us one, but at a price: crystals!
Hint 1: If you move *any* tile, the crystals in the minecart will be destroyed.
Hint 2: You'll have to use the ice patch again.
Hint 3: The tile with the crane on it is the only way for the minecart to reach Burt with a crystal.
Solution: Set up the tiles as shown below:
Get a crystal from the loop, send it up the elevator, through the ice, and deliver it to Burt. He will give you an extractor tank, which you can use to repair the extractor. Once it is repaired and powered, Sara will give you Slider 7.
Slider 8
Time to make some crystal goo! You'll need 2 crystals, you can't move the extractor, and once again the minecart must be continuously moving. Because science!
Hint 1: You can't move any tiles during the loop. Plan your setup carefully! It will be similar to the setup for the lava loop
Hint 2: The slider with the trees and pile of logs have very similar rail setups
Solution: There are 2 solutions. Only 1 of them will be possible for you!!! It depends on your previous tile configuration. Don't forget to check the lever states!
Area Complete!
Time for some hot cocoa at the mountaintop station. After fixing the area, the engineer will give you a crystal sample to take back to the foreman in the Rocket Factory. Once you defeat the aliens in The Flats, you can then access the MRI, the final area in the game!
Magic Research Institute (MRI)
Welcome to Magic Research Institute, the final level of Slider! This area features present and past versions of tiles, with a desync mechanic centered around the anchor. Start by walking over to the bottom right corner of the map and talk to Alchemist Muta.
Gems
In addition to filling (both) grids, you also have to find 9 gems to power the Gem Fuel machine. You'll probably find most of them as you play, but here are all of the gems in case you missed some.
Ocean Gem (Blue)
Fezziwig has the first gem on the bottom right corner of the map. Go and talk to him.
Solution: Pick up and deliver gems to the Gem Fuel machine by pressing 'E' (or your key bind for interact).
Desert Gem (Orange)
After activating the portal to the Impact Zone, go back into the Desert temple and explore some more.
Solution: The Desert Gem is in the Desert temple, on the newly excavated right side of the underground portion.
Military Gem (Purple)
It wouldn't be a Magic Research Institute without lasers! Looks like there are some big rocks you can blow up around here, and the Military Gem is in the bottom left corner blocked by one. The laser cannon on the second tile can help clear the way.
Hint: On the laser tile, activate the laser by flipping the switch below the cannon. You can send the laser through the portal.
Solution: The Military Gem is on the left side of the past behind a giant rock. Arm the rock with explosives by interacting with the bomb sign near it. You can shoot the laser through the portal, blow up the rock, and collect the gem.
Village Gem (Brown)
The Village Gem is on the top right of the laser tile. But it's locked behind an electric door activated by a button on the... inside?
Hint: Changing the position of an the past version of an entangled item affects the position of the the present version.
Solution: Pick up the past (pink) bob on the past portal tile, and bring it to the top right of the past laser tile. Place it within the box. The present (yellow) version of the bob will be teleported to the same spot in the present and should activate the button on the present laser tile. Return to the present laser tile to pick up the gem. (Make sure nothing is desynced!)
Mountory Gem (Mountain and Factory)
See the hints for Slider 4.
Caves Gem (Teal)
The Caves Gem is located on the bottom right side of the map in the past. Use the entangled bobs to get inside.
Hint: You'll have to use the entangled conductive bobs, but no desyncs required!
Solution: Use the Anchor to connect the pylons and open the first door. Bring the past bob down and place it behind the first door. Go to the present near the gem machine to pick up the present bob and place it to connect the wires. Pick up the Anchor. Walk through the first door and pick up the past bob. This will reset the present bob's position. Collect the gem, flip the switch, and walk out.
Jungle Gem (Green)
A wizard in the village in the past has the gem, but he's asking for one million dollars!
Hint: The safe in the desert casino has a lot of money!
Solution: The Foreman doesn't want us to use the laser... but Chad can do something about it. Set up the laser so it will fire to the Casino and go through the portal. Set the bombs outside the right side of the casino and Chad will handle turning the laser on. Then, take the money and run away! You can pay the wizard in the past village and grab the Jungle Gem and the Gem Fuel recipe.
MagiTech Gem (Pink)
Go to the 9th tile and talk to the voice on the reflection pool.
Solution: Use the Scroll of Realigning to put all the MRI back together. Turn in the artifact by advancing the dialogue at the reflection pool.
Slider 1
Grab the Ocean Gem, put it in the machine, then talk to Alchemist Muta to get a nifty Gem Transporter and the first Slider.
Solution: Go past the Gem Fuel machine, pick up the Ocean Gem, and use it near the machine to place it in. Talk to Muta and pick up the Gem Transporter, then pick up the Ocean Gem again.
Slider 2
A portal appears; where might it lead? Explore the past to find the next Slider.
Solution: You can find Chad in the top-left of the past version of the map.
Slider 3
By studying fossils from the Impact Zone, MRI scientists have created a super laser! In order to test it out, you'll need to explode a rock and retrieve some oil.
Hint: Dropping the Anchor on a tile causes a desync -- it locks the tile in place, but enables you to move the tile in the other dimension.
Solution: Move the laser to the right side of the grid with the portal in the center. Drop the Anchor on the laser tile, take the portal into the past, and move the past laser tile around to the left of the portal. Talk to the bomb sign to blow up the rock. Pick up the Oil, and bring it back to the scientist on the laser tile.
Slider 4
Head into the museum, and you'll find the Curator. He tells you a tale of two wizards who died in combat over a shield generator, which is now preserved in the museum. If things had ended differently, perhaps there would be some other remnant from the battle. Can you change history?
Hint: To get access to the present shield generator, give one of the wizards the shield generator in the past.
Solution: On the past museum tile, move the pink shield generator to either one of the wizard's boxes. That wizard will win the duel, creating a gem which is preserved in the museum. Go to the present museum tile, grab the present shield generator from the upper floor of the museum, and bring it to the other wizard. On Run back to the museum and talk to the curator and pick up the Mountory Gem while you're at it (Poor curator. His worries came true).
Slider 5
On the new tile, there's a VERY hungry worker, who isn't satisfied with just one burger. It's become entangled with the very first burger ever created, which you'll need to steal.
Hint 1: While you can bring present entangled items to the past, you can't bring past items to the present without the present version disappearing. That is, unless you could break the rules of time...
Hint 2: If either entangled item is on a desync tile, no pesky time continuity rules apply
Solution: Anchor the Hungry Worker's tile down, swap to the past and activate a desync by moving the past tile to a different location. The past burger should now have a lightning effect. Take the past burger and place it on the table next to the hungry worker. When both burgers are near the worker, he will give you Slider 6
Slider 6
The castle on the past version of the new tile holds the next Slider piece. The only bridge to get there is broken, and a shroom-hatted wizard is somehow afraid of mushrooms?
Hint: Hitting the mushrooms with the laser will cause them to shrink.
Solution: Line up the castle and the bridge in one row, and the portal and the laser in another row. Anchor the present portal slider, and move the past portal tile to start a desync. Move the past portal slider to the same row as the castle. Talk to the shroom-hatted wizard and cross the bridge into the castle.
Slider 7
Below the rocket which you'll be riding, an engineer needs four Oils for reserve fuel. Find them inside explodable rocks and nearby.
Hint 1: There's one oil hiding on the top right of the rocket launchpad.
Hint 2: The other two oils are inside explodable rocks: one in the past and the other in the present.
Hint 3: To explode the rock in the present, you'll need to pass the laser through the portal twice.
Oil #2 (Present Rocket Tile) Solution: Oil #2 is in a pile of supplies on the top right of the rocket tile.
Oil #3 (Past Rocket Tile) Solution: Line up the rocket, portal, and laser tiles from left to right, then blow up the rock in the past rocket tile.
Oil #4 (Present Mirror Tile) Solution: first line up the rocket, hungry worker tile, and laser on the bottom row, and anchor the present laser tile. The laser should reflect upwards in the middle. Place the portal in the middle of the left side with the museum above it, then place the present explodable rock in the top right corner. Move to the past. There should be a path to desync the past laser tile and move it to the center of the top row. Move the portal one tile right to the center and the rocket up one tile. The laser should start on the bottom right, reflect up into the portal in the middle, loop counter-clockwise in the past, and come out the right side of the present portal. Go explode the present rock and return to the rocket engineer near the launchpad.
Slider 8
Slider 8 can be found trapped behind a similar puzzle to the Caves Gem on the tile with two buildings on it. Use the entangled lever interactions to get inside.
Hint: Don't forget about the Anchor!
Solution: Flip the lever in the past so that the outer door is open. Place the Anchor on the present vault tile. Go back to the past, desync the tile by moving it, flip the switch so that the inner door is open, then go back to the present. Walk through the outer door, then resync by holding the keyboard bind for preview down and shifting the past tile back, or pick up the Anchor while still inside the outer door. This will shut the outer door and open the inner one. Flip the switch to get out.
Slider 9
Collect all the gems except the MagiTech Gem, then talk to Alchemist Muta to get the final Slider! You're probably missing the Jungle one, but make sure to check the Gem section above.
Blast Off!
What a journey! Once you've collected all the Gems, talk to Alchemist Muta to get the Gem Fuel pumping to the rocket. Interact with the door near the launchpad, and you'll be on your way to being reunited with your cat!
Thanks for playing Slider!
Bonus Content
Breadge
Each area has a hidden Breadge to collect. They are all accessible even after beating the area. If you collect all 9, you can bring them to the bakery in the MRI for an awesome surprise. These are all possible to acquire even if you've collected all the tiles in an area. Good luck!
Challenge Achievements
If you're still hungry for more challenges, each area has a bonus achievement. Most of these achievements require you to finish an area in a specific way, so you'll probably have to do it from a fresh save. Usually using cheats will disable these challenge achievements, but you can use the "Teleport to Area", "Spawn Anchor", and "Scroll + Boots" cheats to get to each of the areas for the achievement (*any cheat disables the speedrunning achievements on that save). There is also a one-hour speedrunning achievement that we think you'll enjoy a lot. Good luck figuring these out!